It can be re-assembled without too much pain if you have all the pieces (don't lose those tiny springs!) and make a couple of simple fixtures. On the one I just rebuilt for a friend the central hub was a machined aluminum reproduction part. The cable has a "Brewer Classic Lincoln label", so maybe it came from there. I don't know for sure that my method of anchoring the hub to the jig will work for the original hub because I'm not keen on disassembling mine right now, so your mileage may vary. This was my first pass at building a fixture; maybe someone out there has a better way or has some good suggestions. The contacts on this switch were a bit corroded but once it was disassembled, the contacts were cleaned, and the whole thing was re-assembled it seems to work okay (at least with an ohmmeter on the bench; haven't re-installed it in the car yet). Hopefully my experience here will help someone out.
The switch itself is actually pretty simple, it's the way that it's assembled that turns it into a horror show when you take it apart. It has five sets of contacts. Each set of contacts can be seen from the outside as a pair of adjacent connections. Internally there's a 1/8" diameter brass rod for each contact which is rotated into/out of position across the contacts. It has two identical wedges which hold up to three sets of contacts each (one has three, the other has two). The ugly bit is that each brass rod is pressed outward by a little spring. When you take it apart all the forces are outward so all the little brass rods and little springs want to fling out in all directions and reassembling it is a bit of a trick. Incidentally, if you lose any brass rods you can cut new ones from 1/8" diameter brass rods that you can get at hobby or home improvement stores (I had to do this on mine; it was the least of the problems).
I needed two jigs to hold everything in place: something to hold the contacts in place against the springs inside the wedge while the wedge is being installed and something to hold the housing and hub steady while putting it together (this bit was key).
To start I made a fixture to hold the housing in place. It's just a chunk of 3/4" plywood with three holes and two 8-32 t-nuts. Ignore the holes with black Xs; those were the originals before I realized the wire connections had to hang over the edge of the plywood:
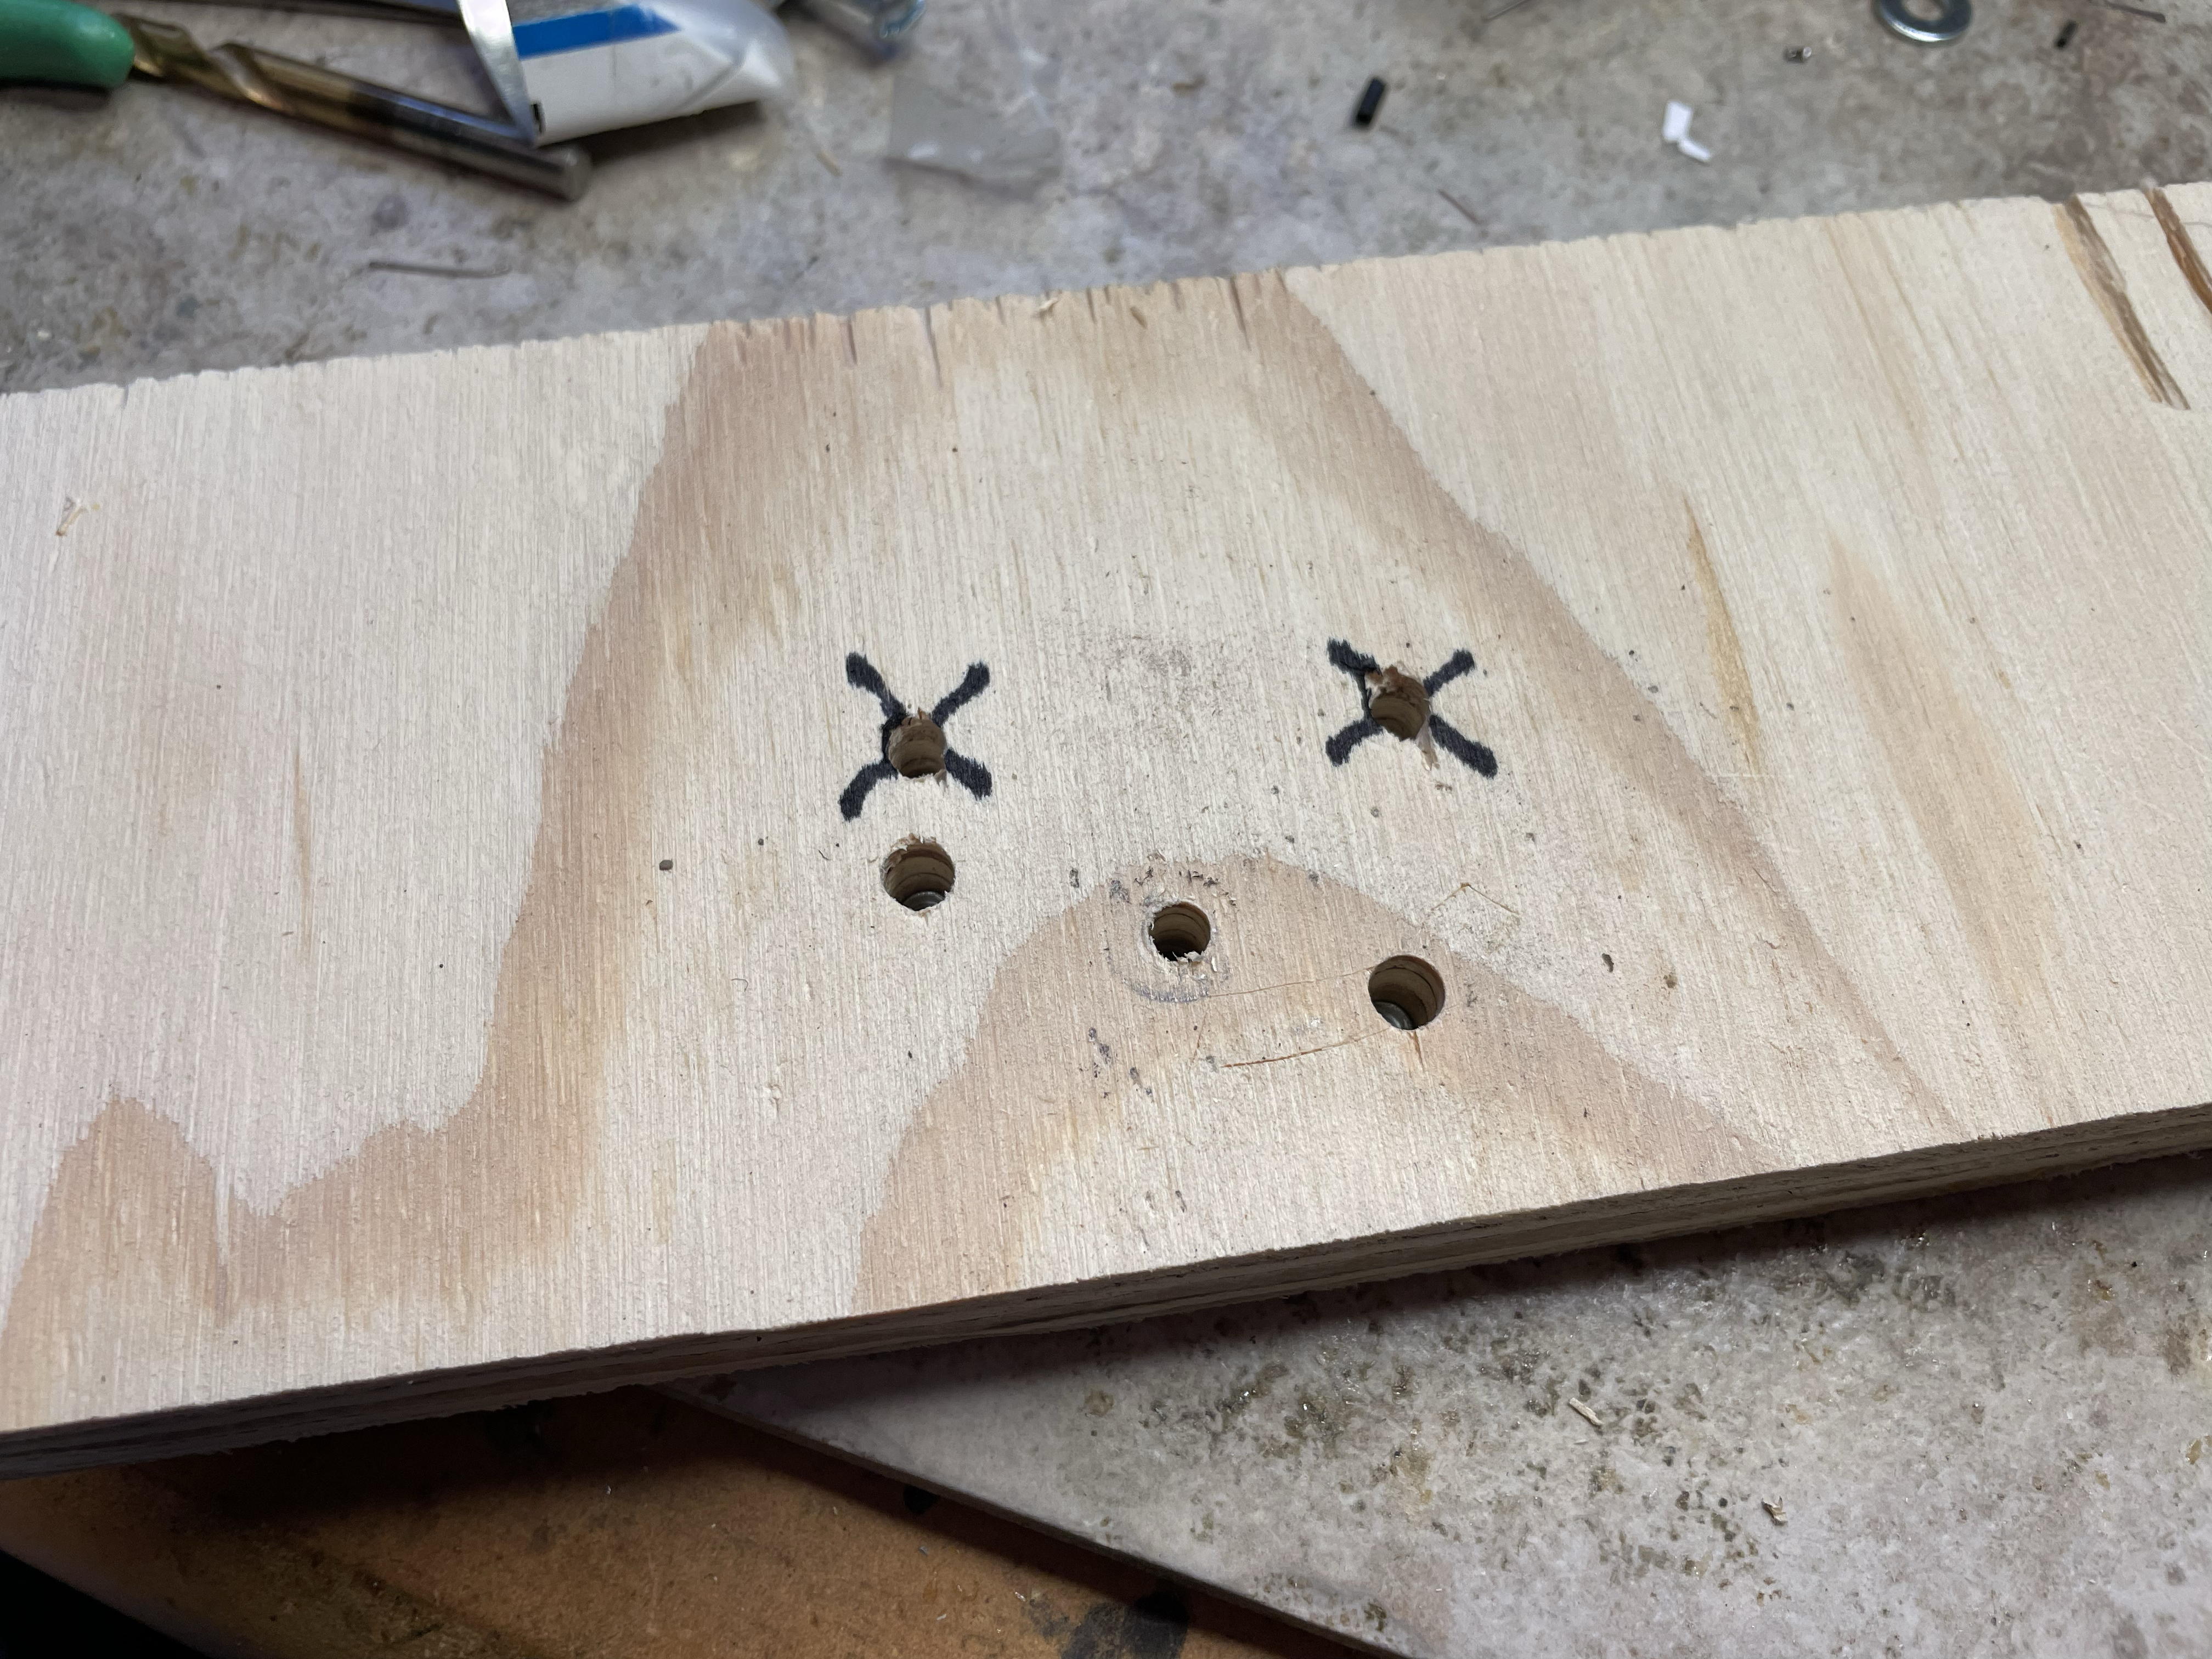
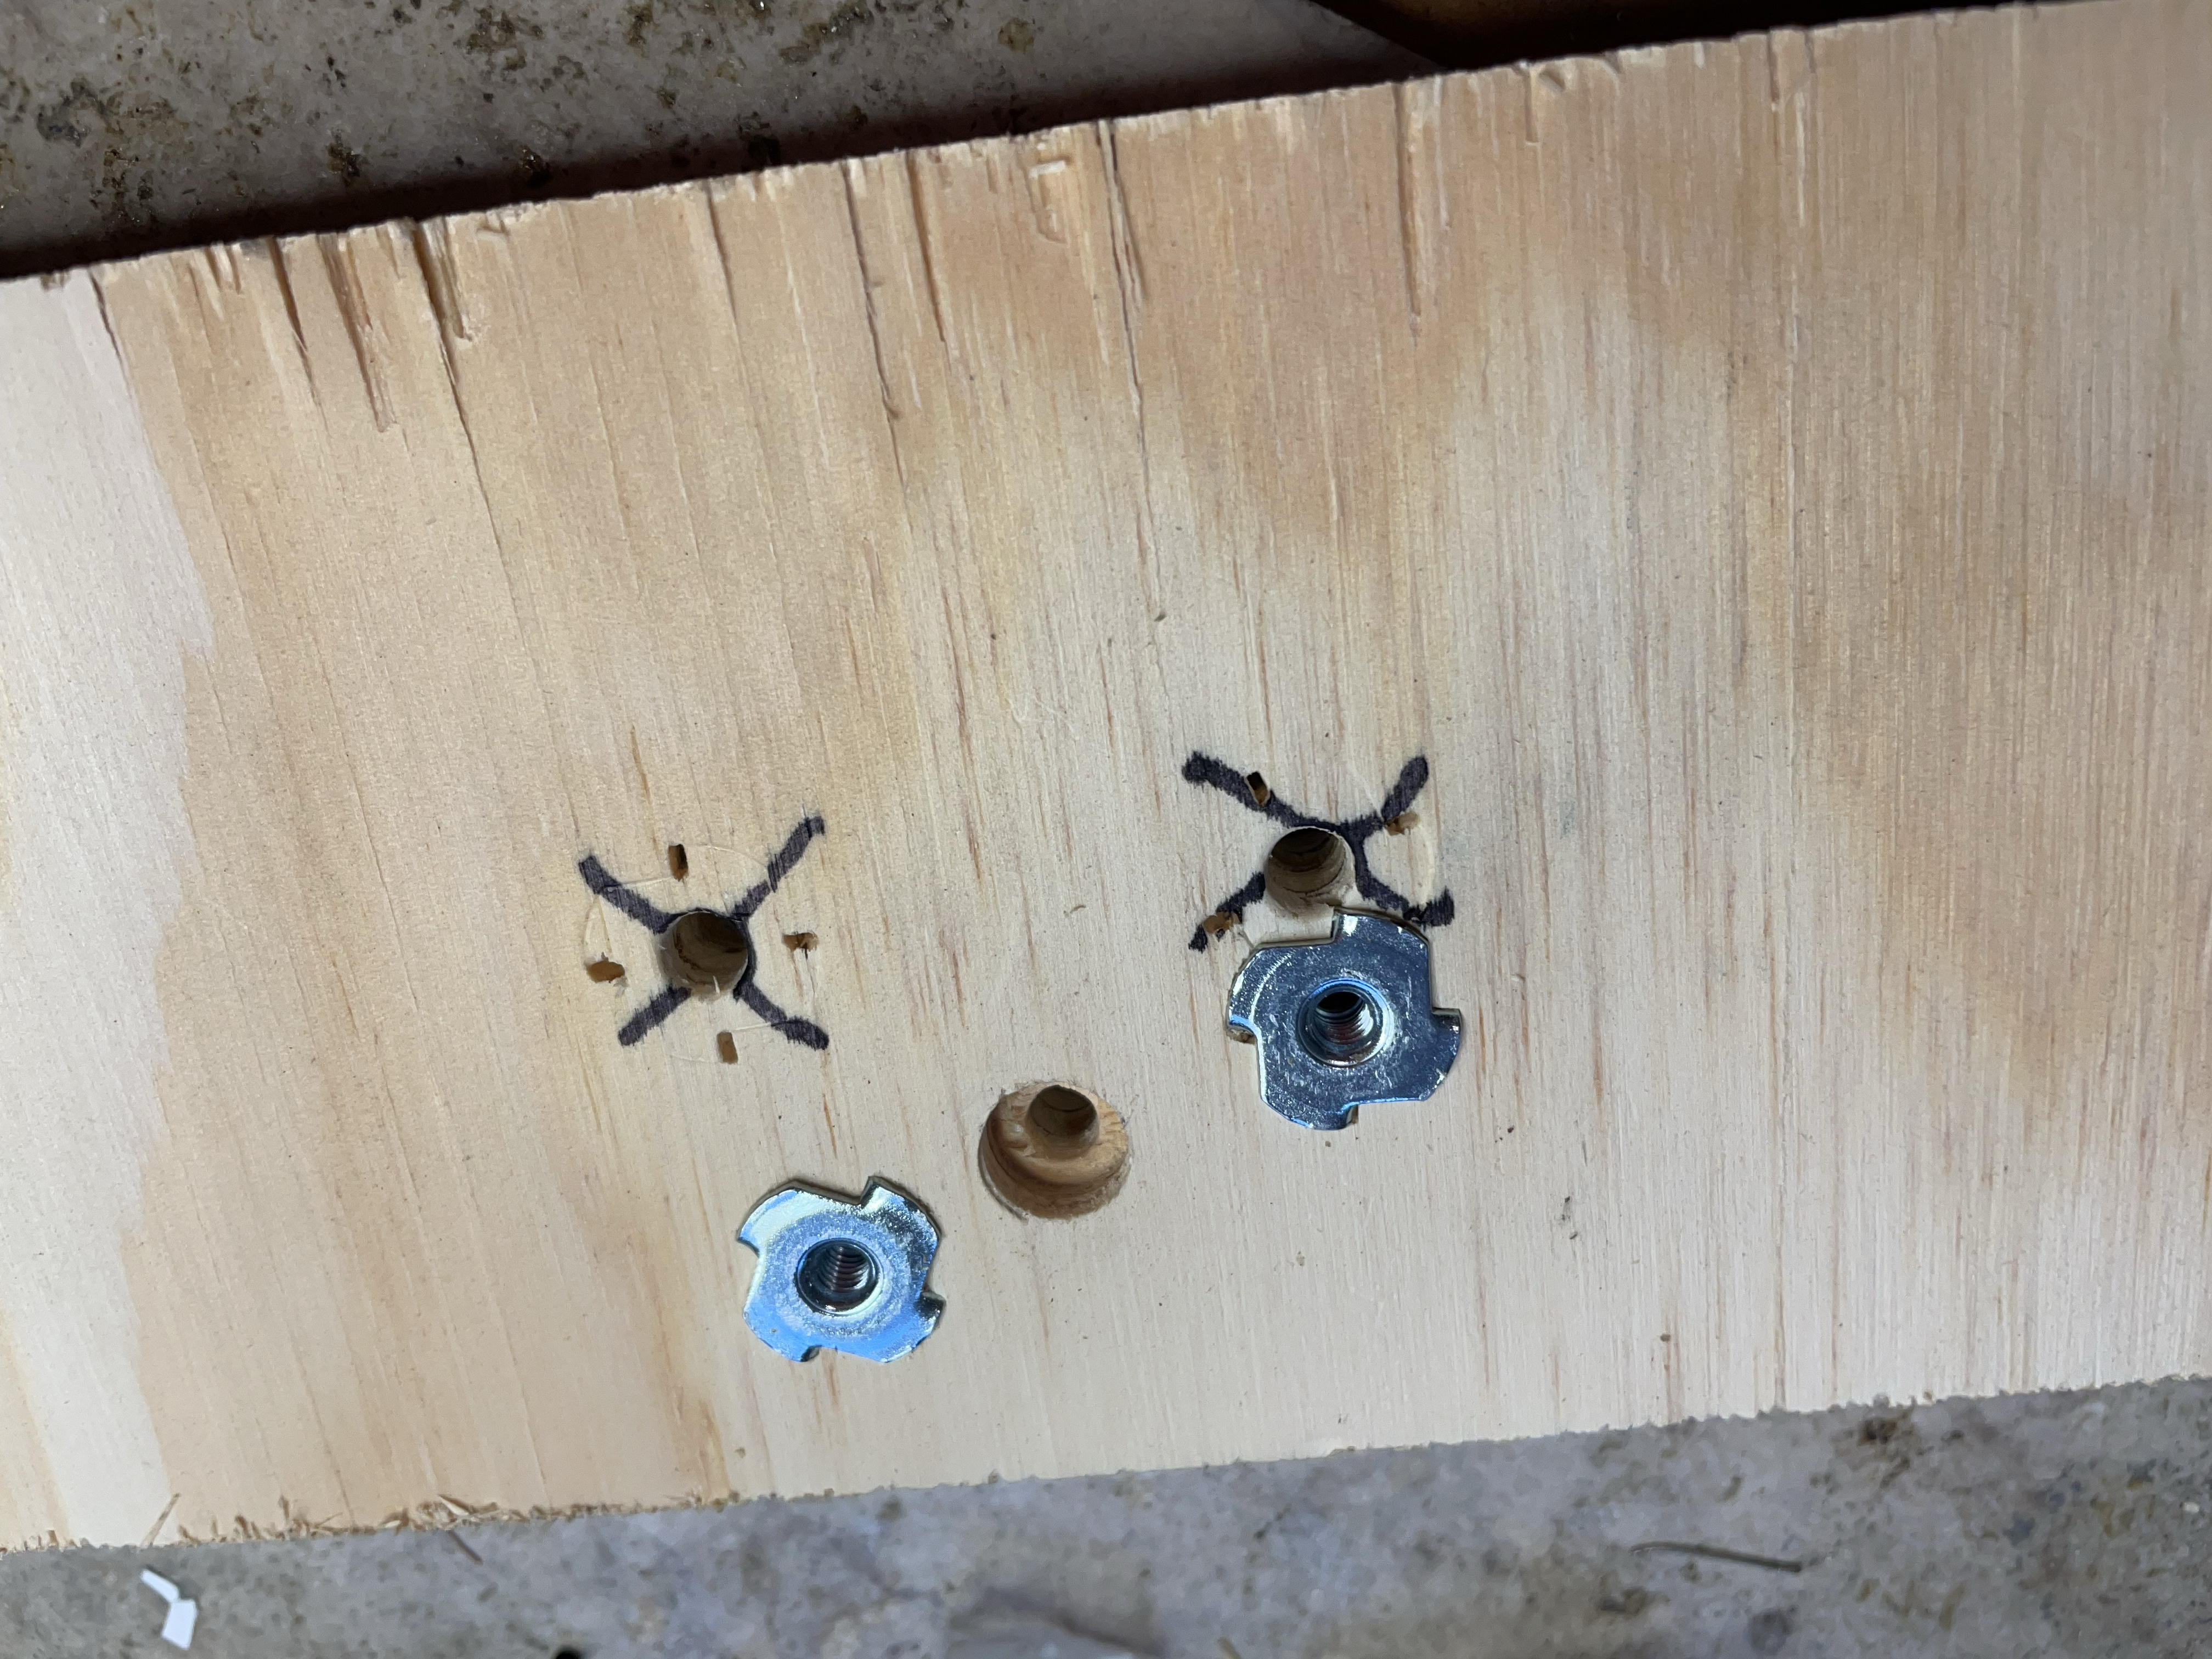
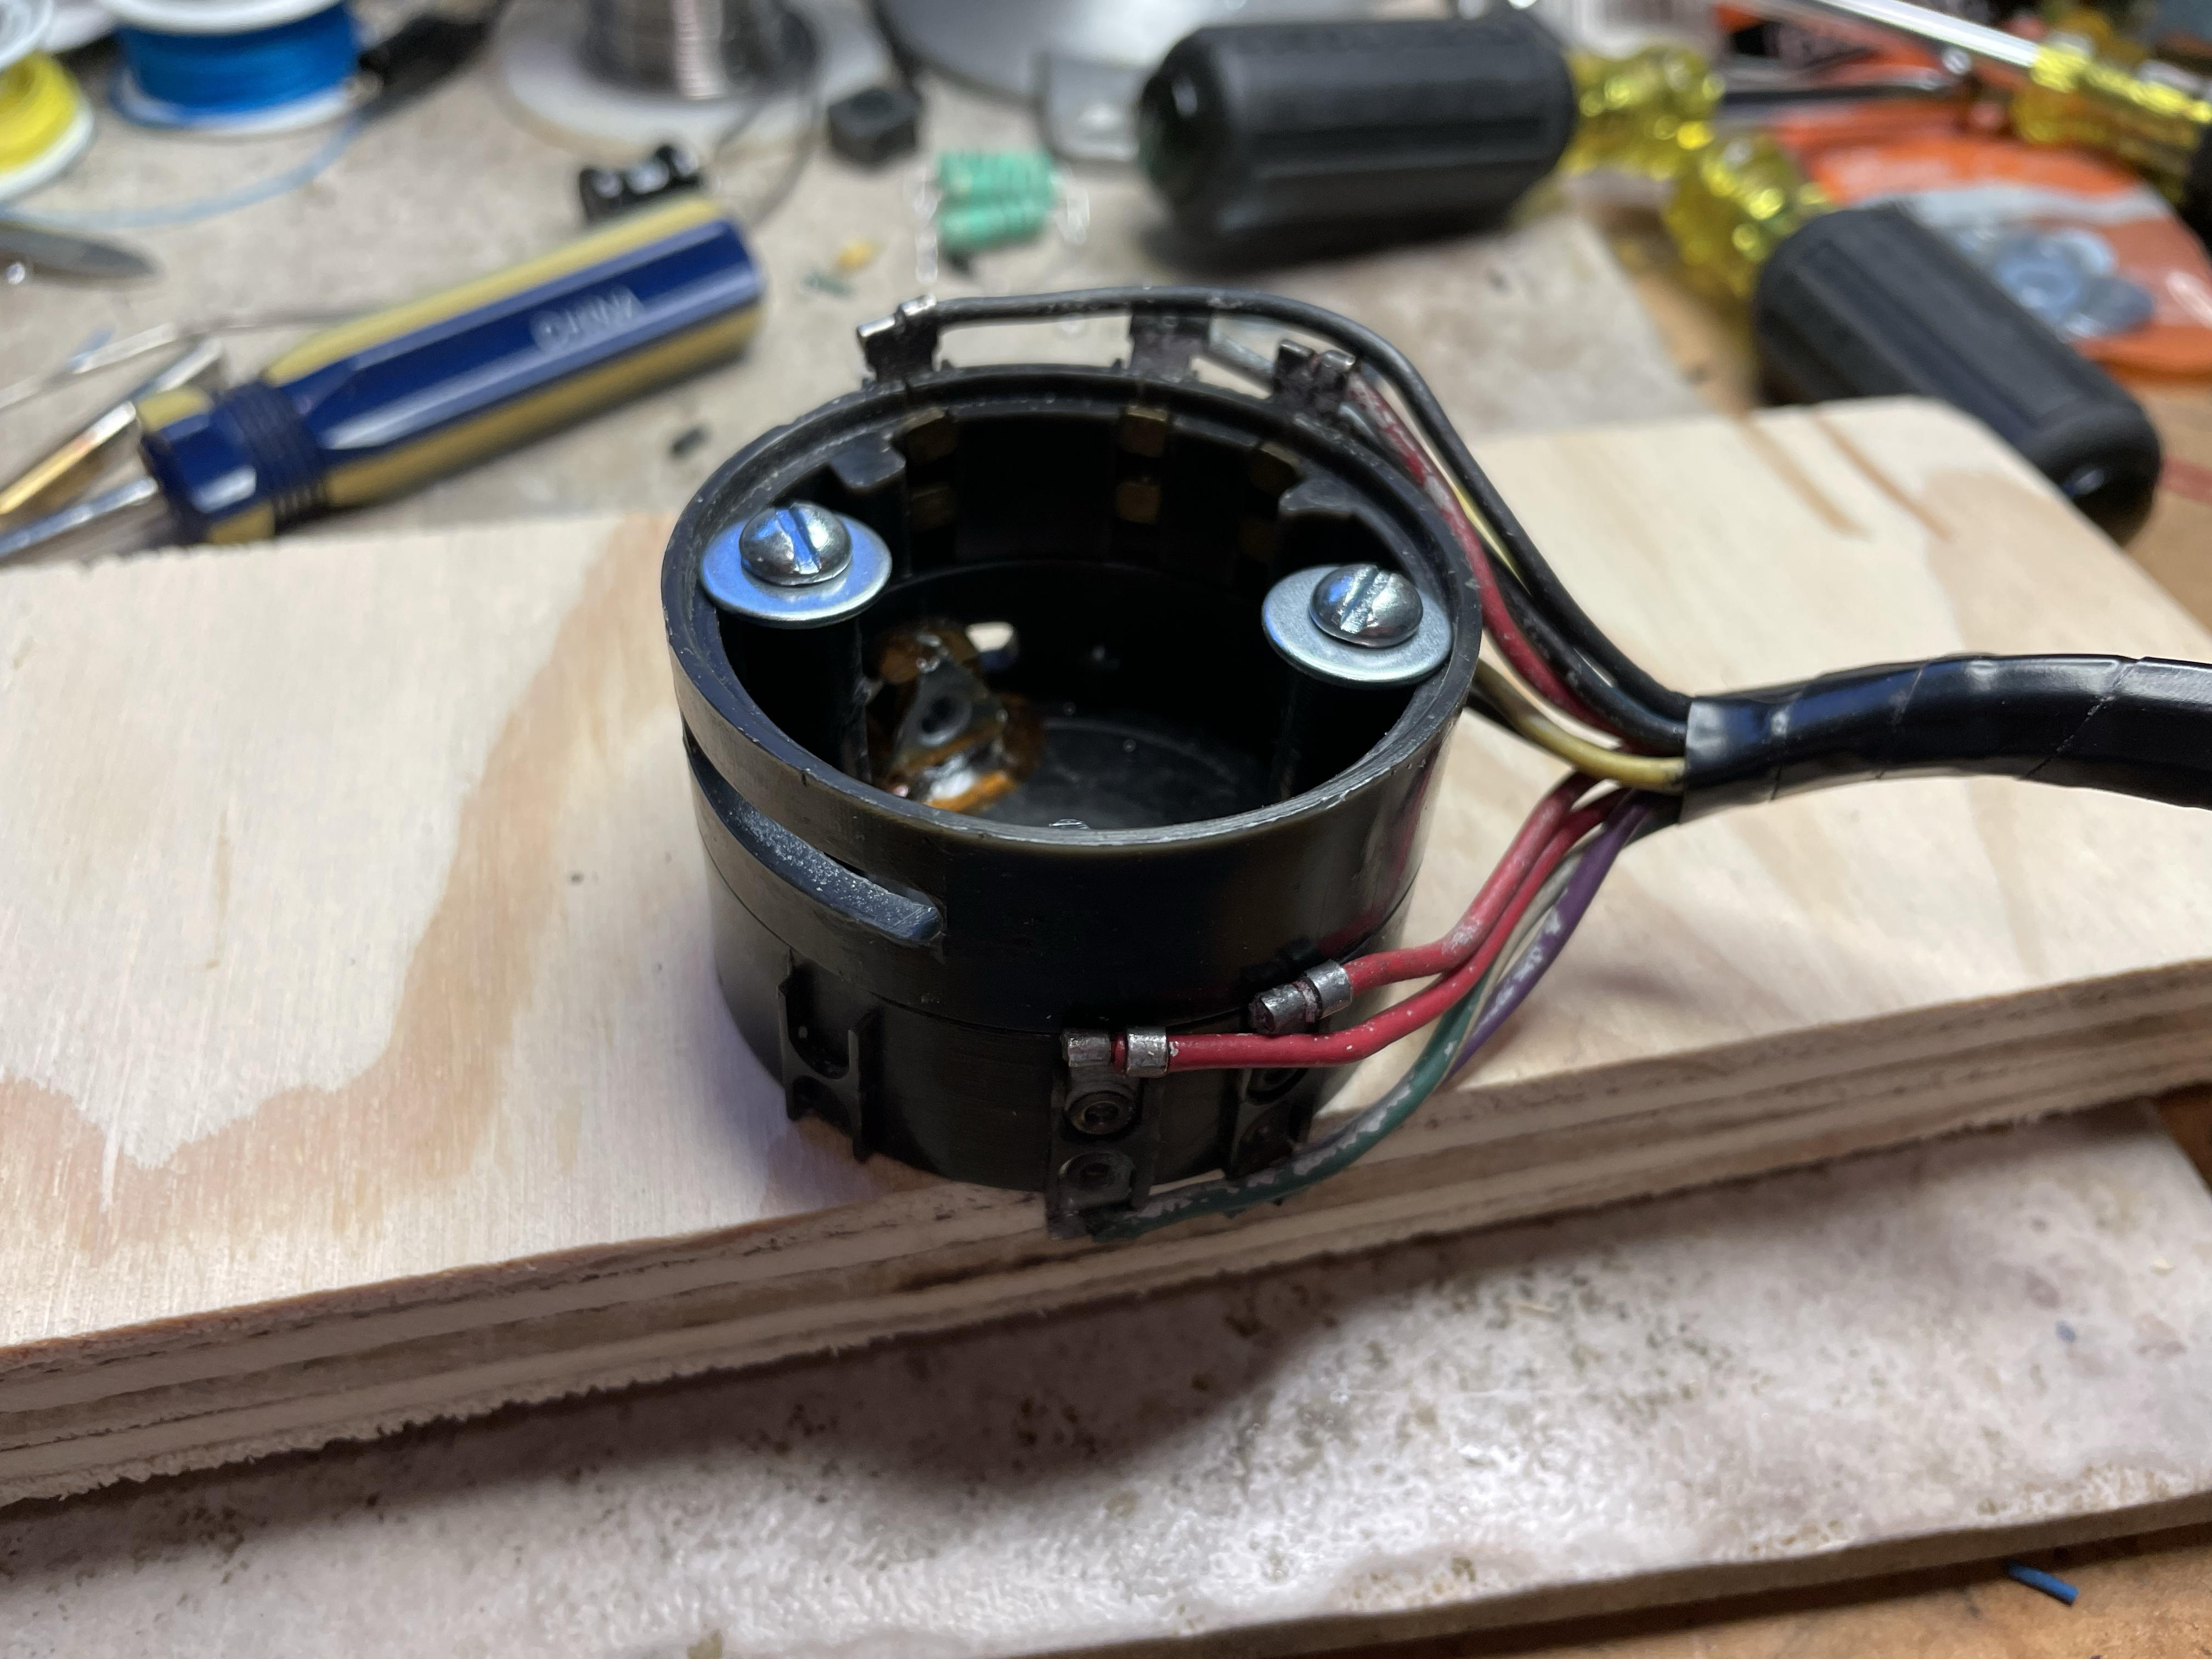
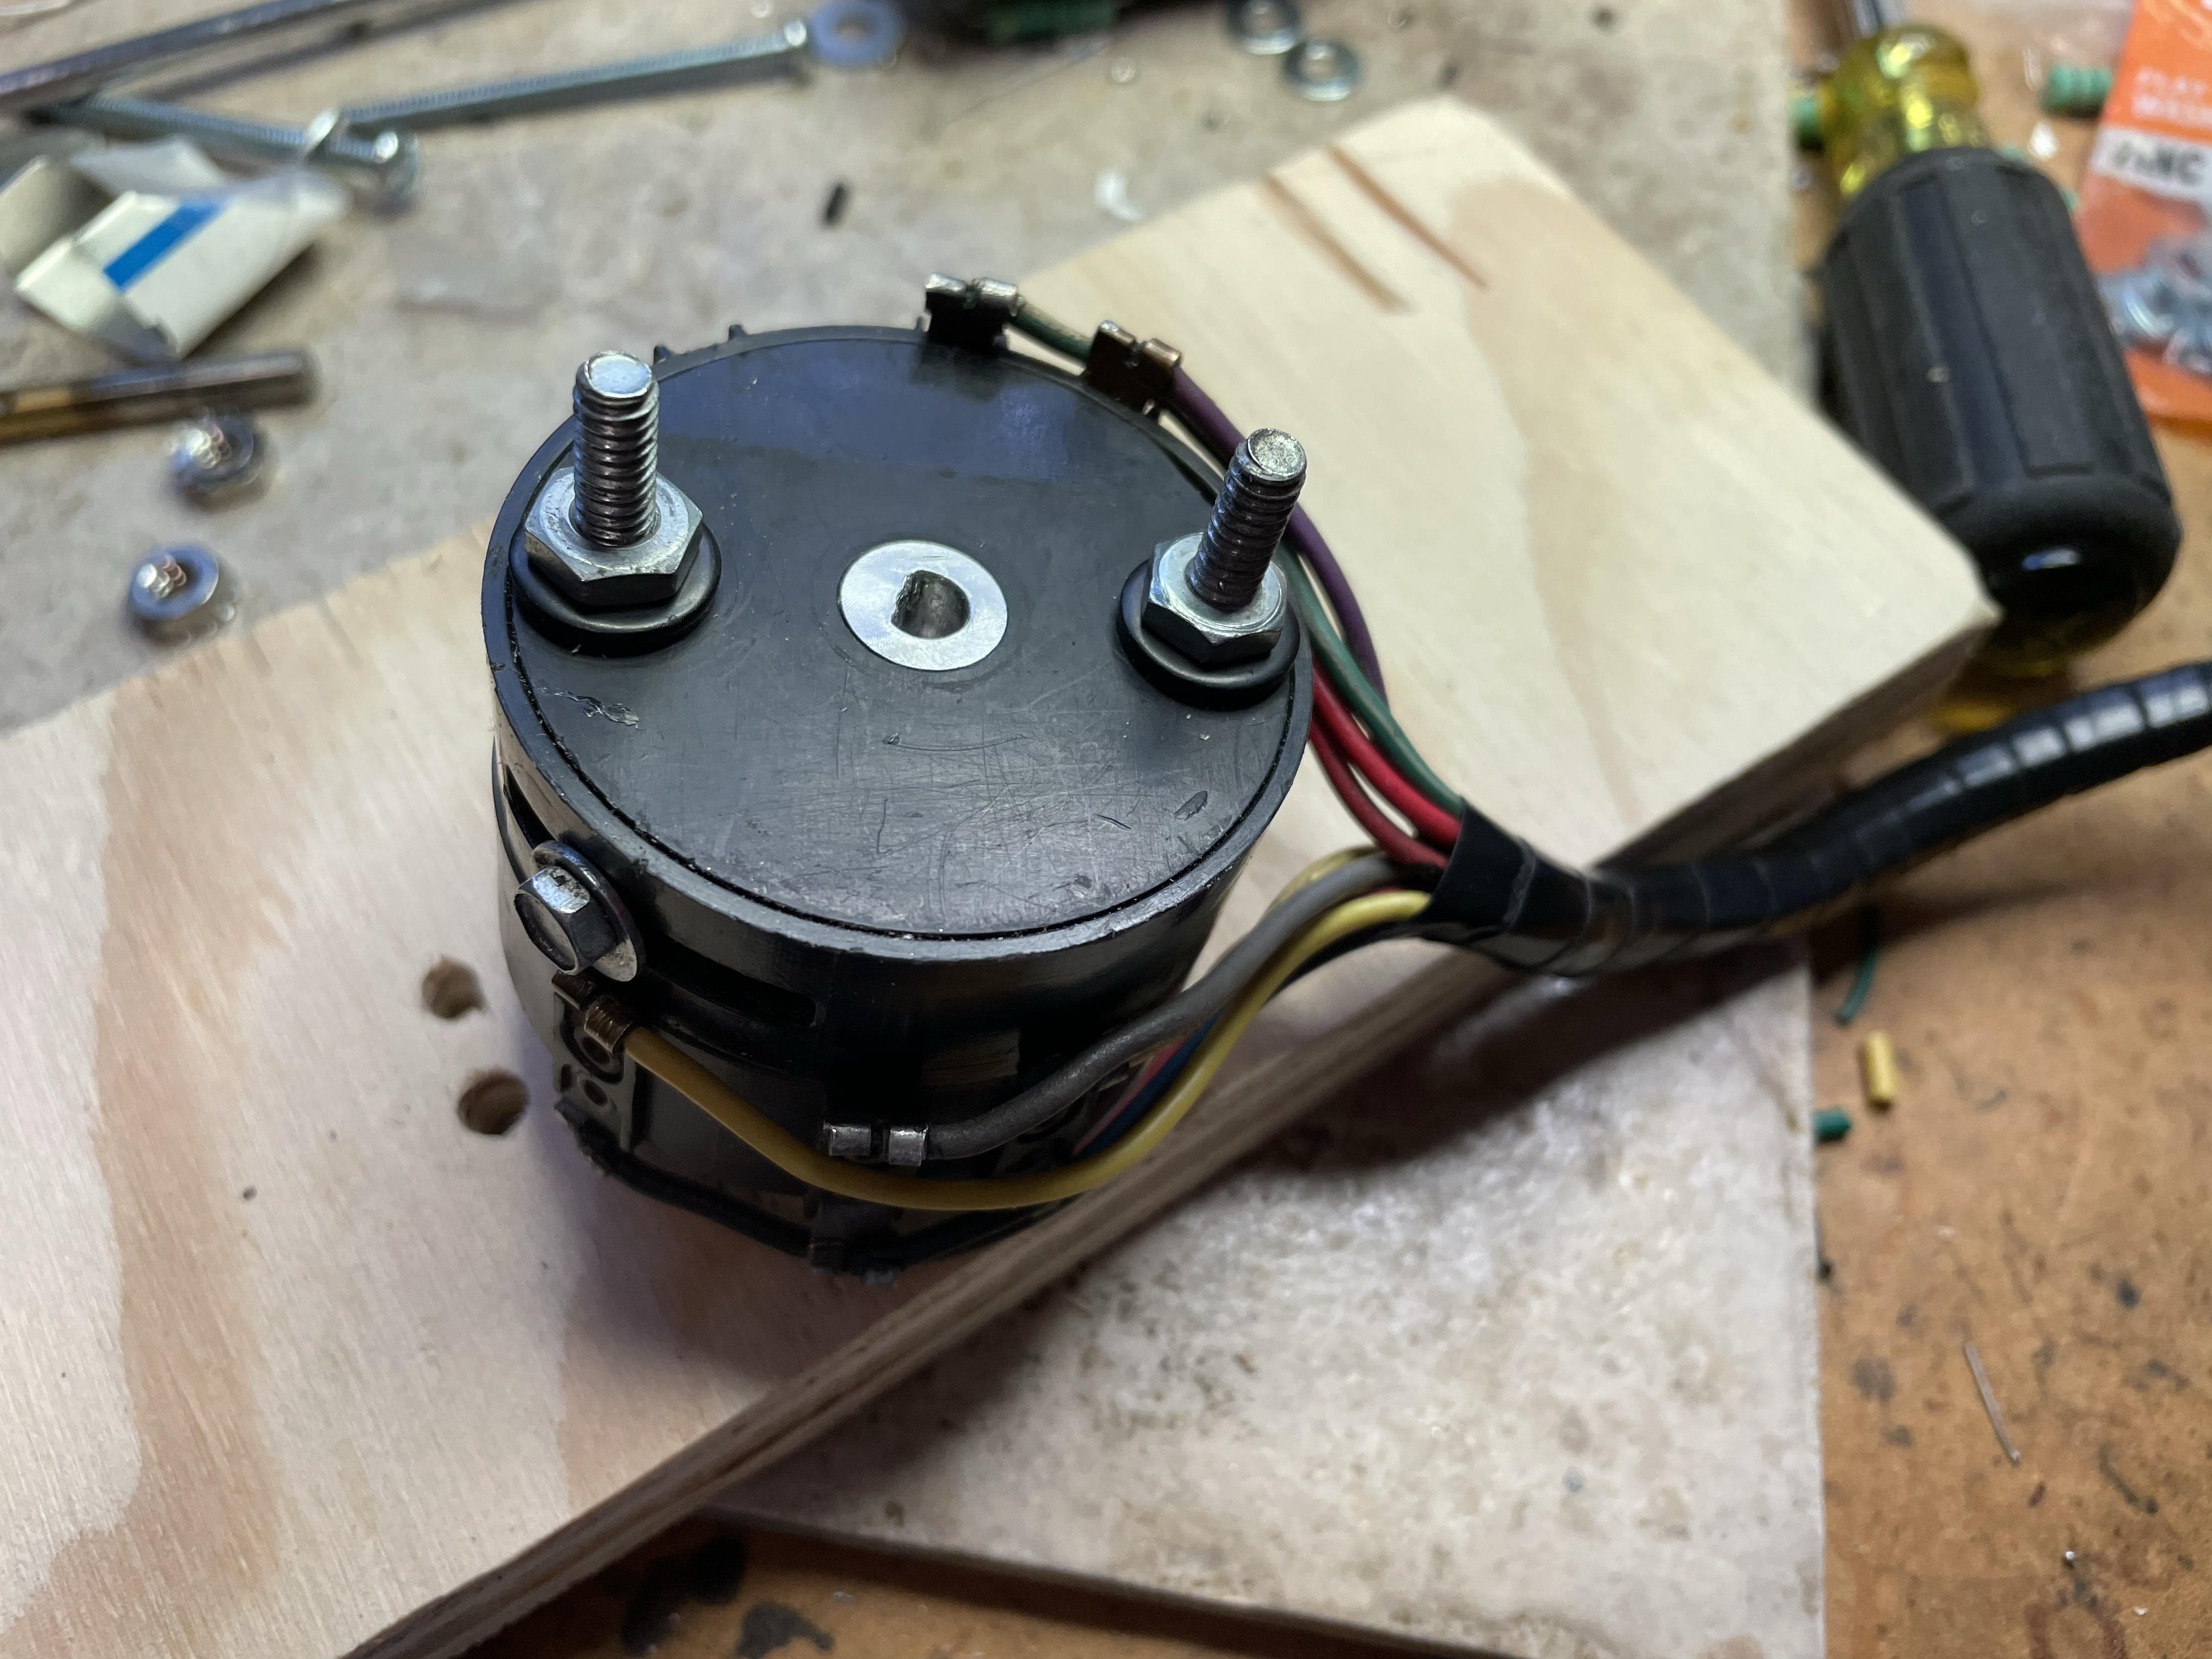
The two holes with t-nuts are used to anchor the housing, the center hole with the counterbore is used to anchor the central hub. Here it is with the housing held in place by a pair of 8-32 machine screws and #10 washers.
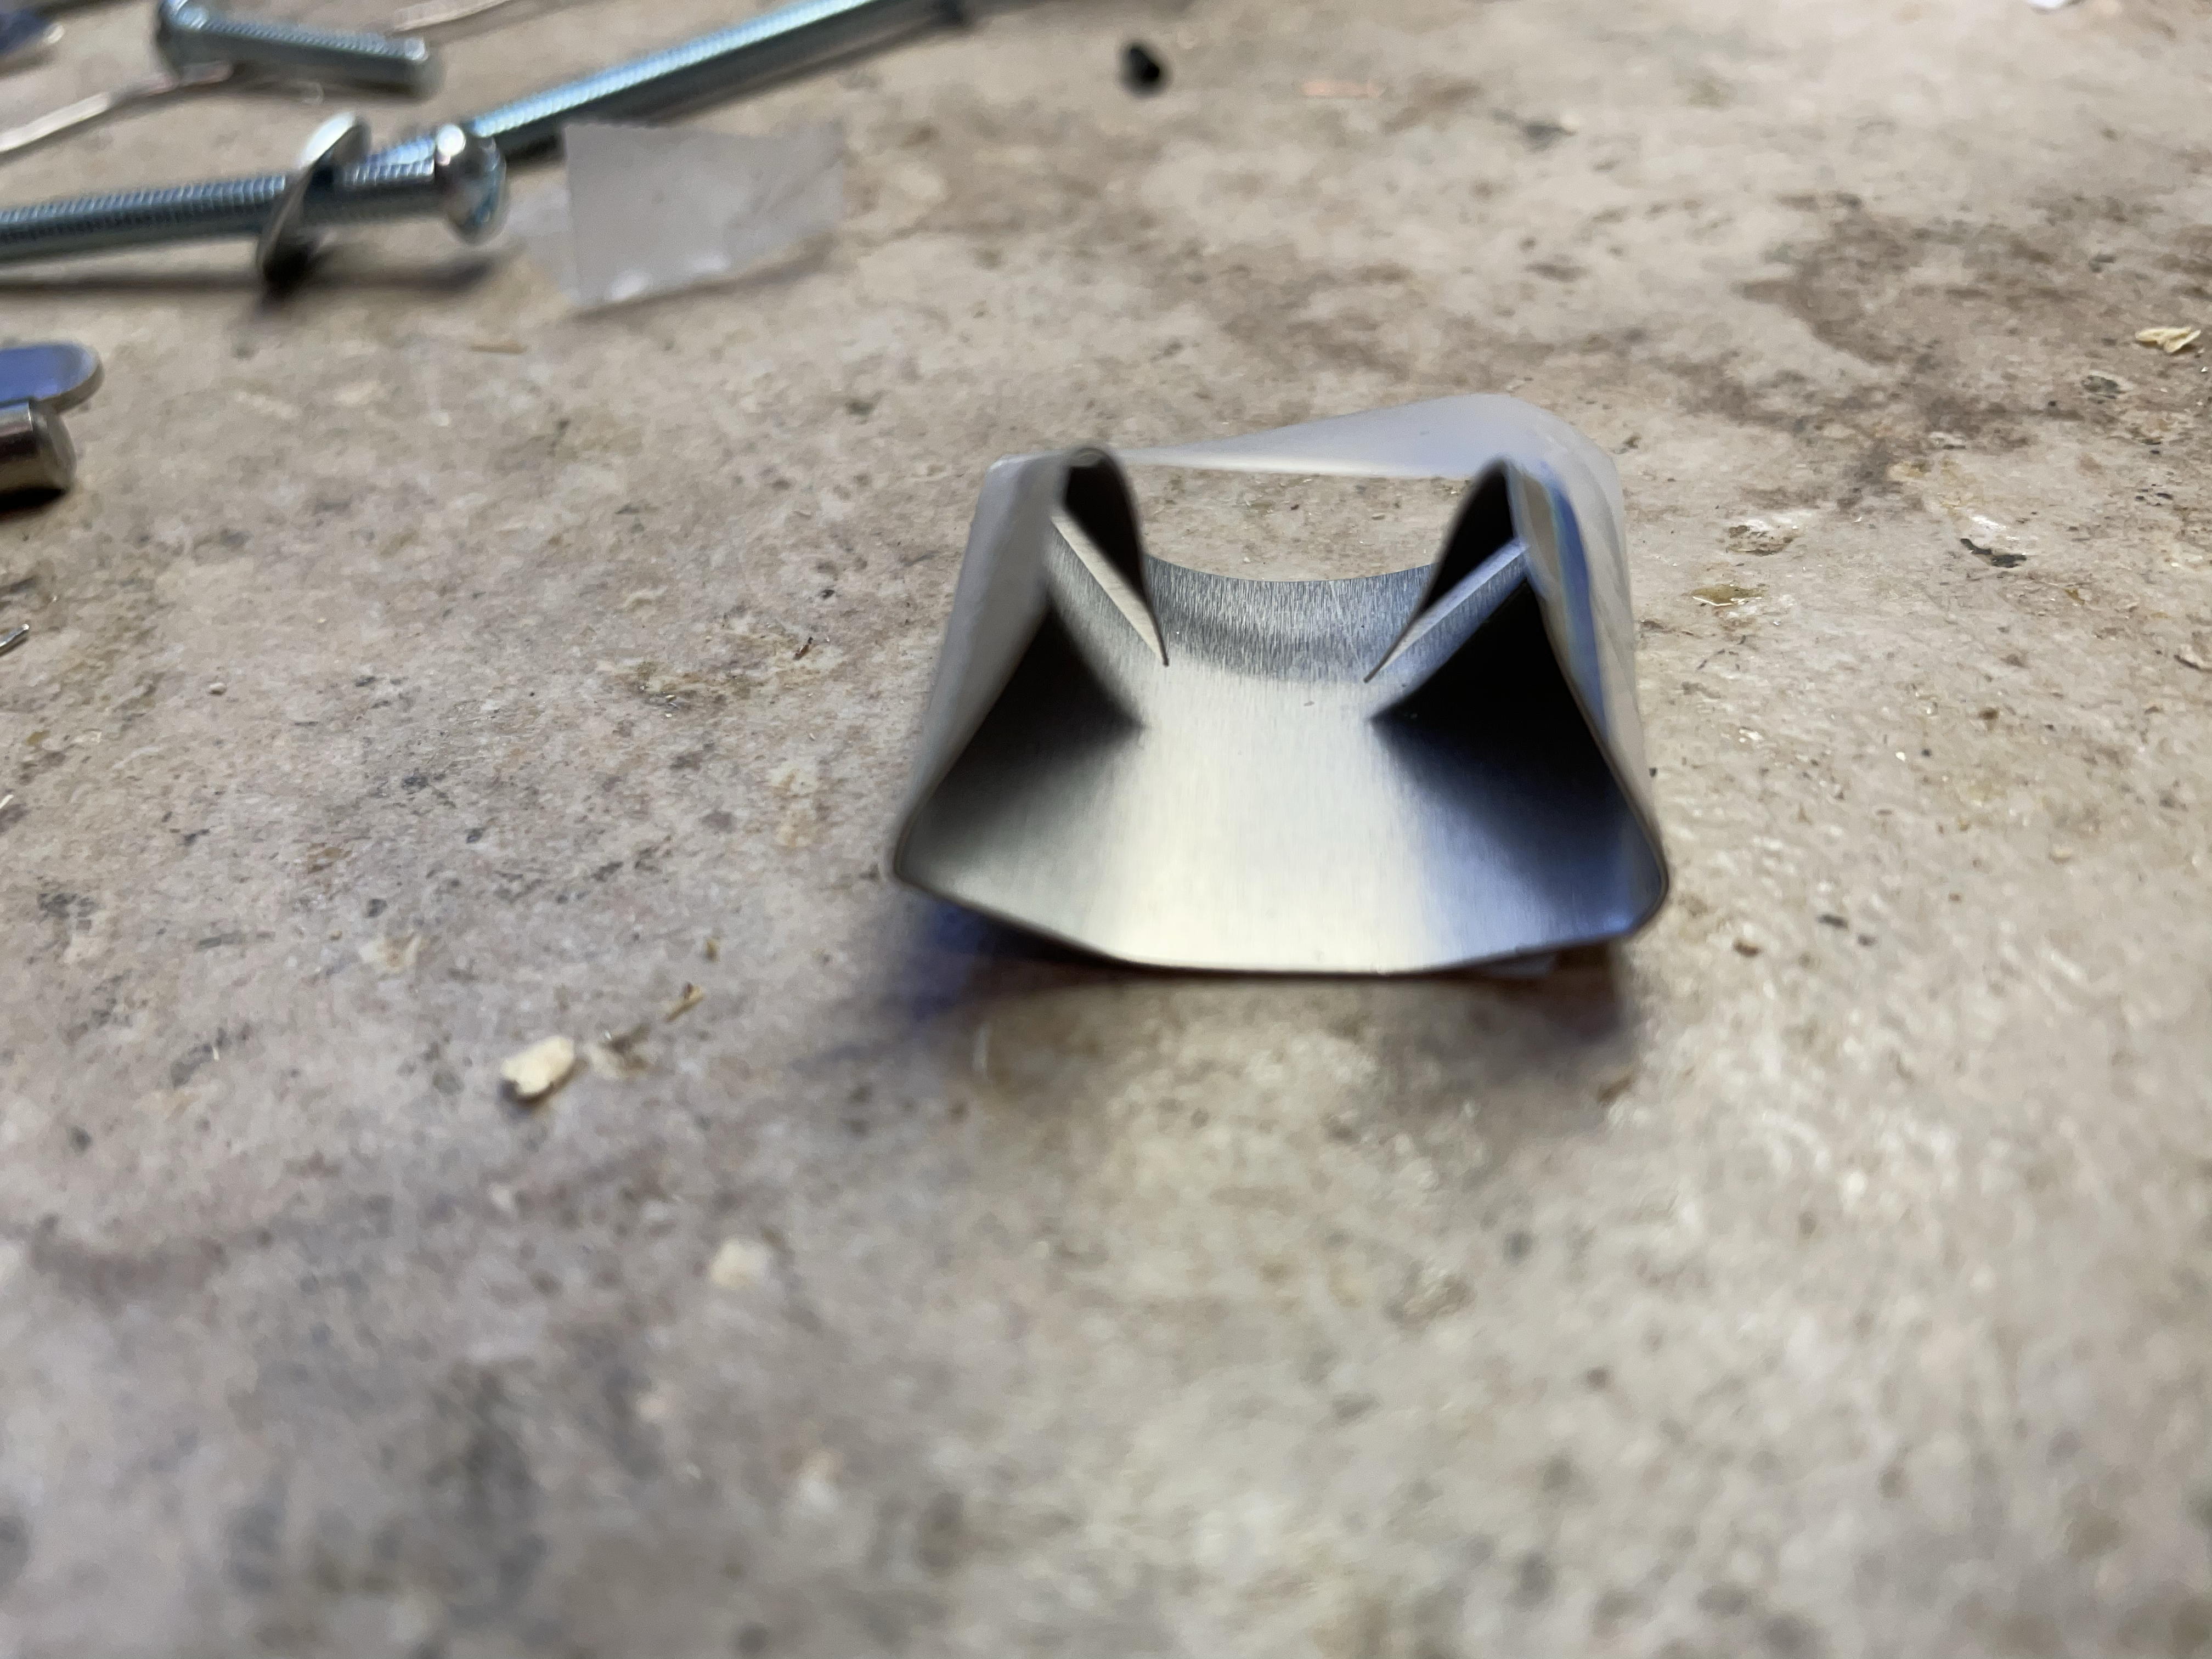
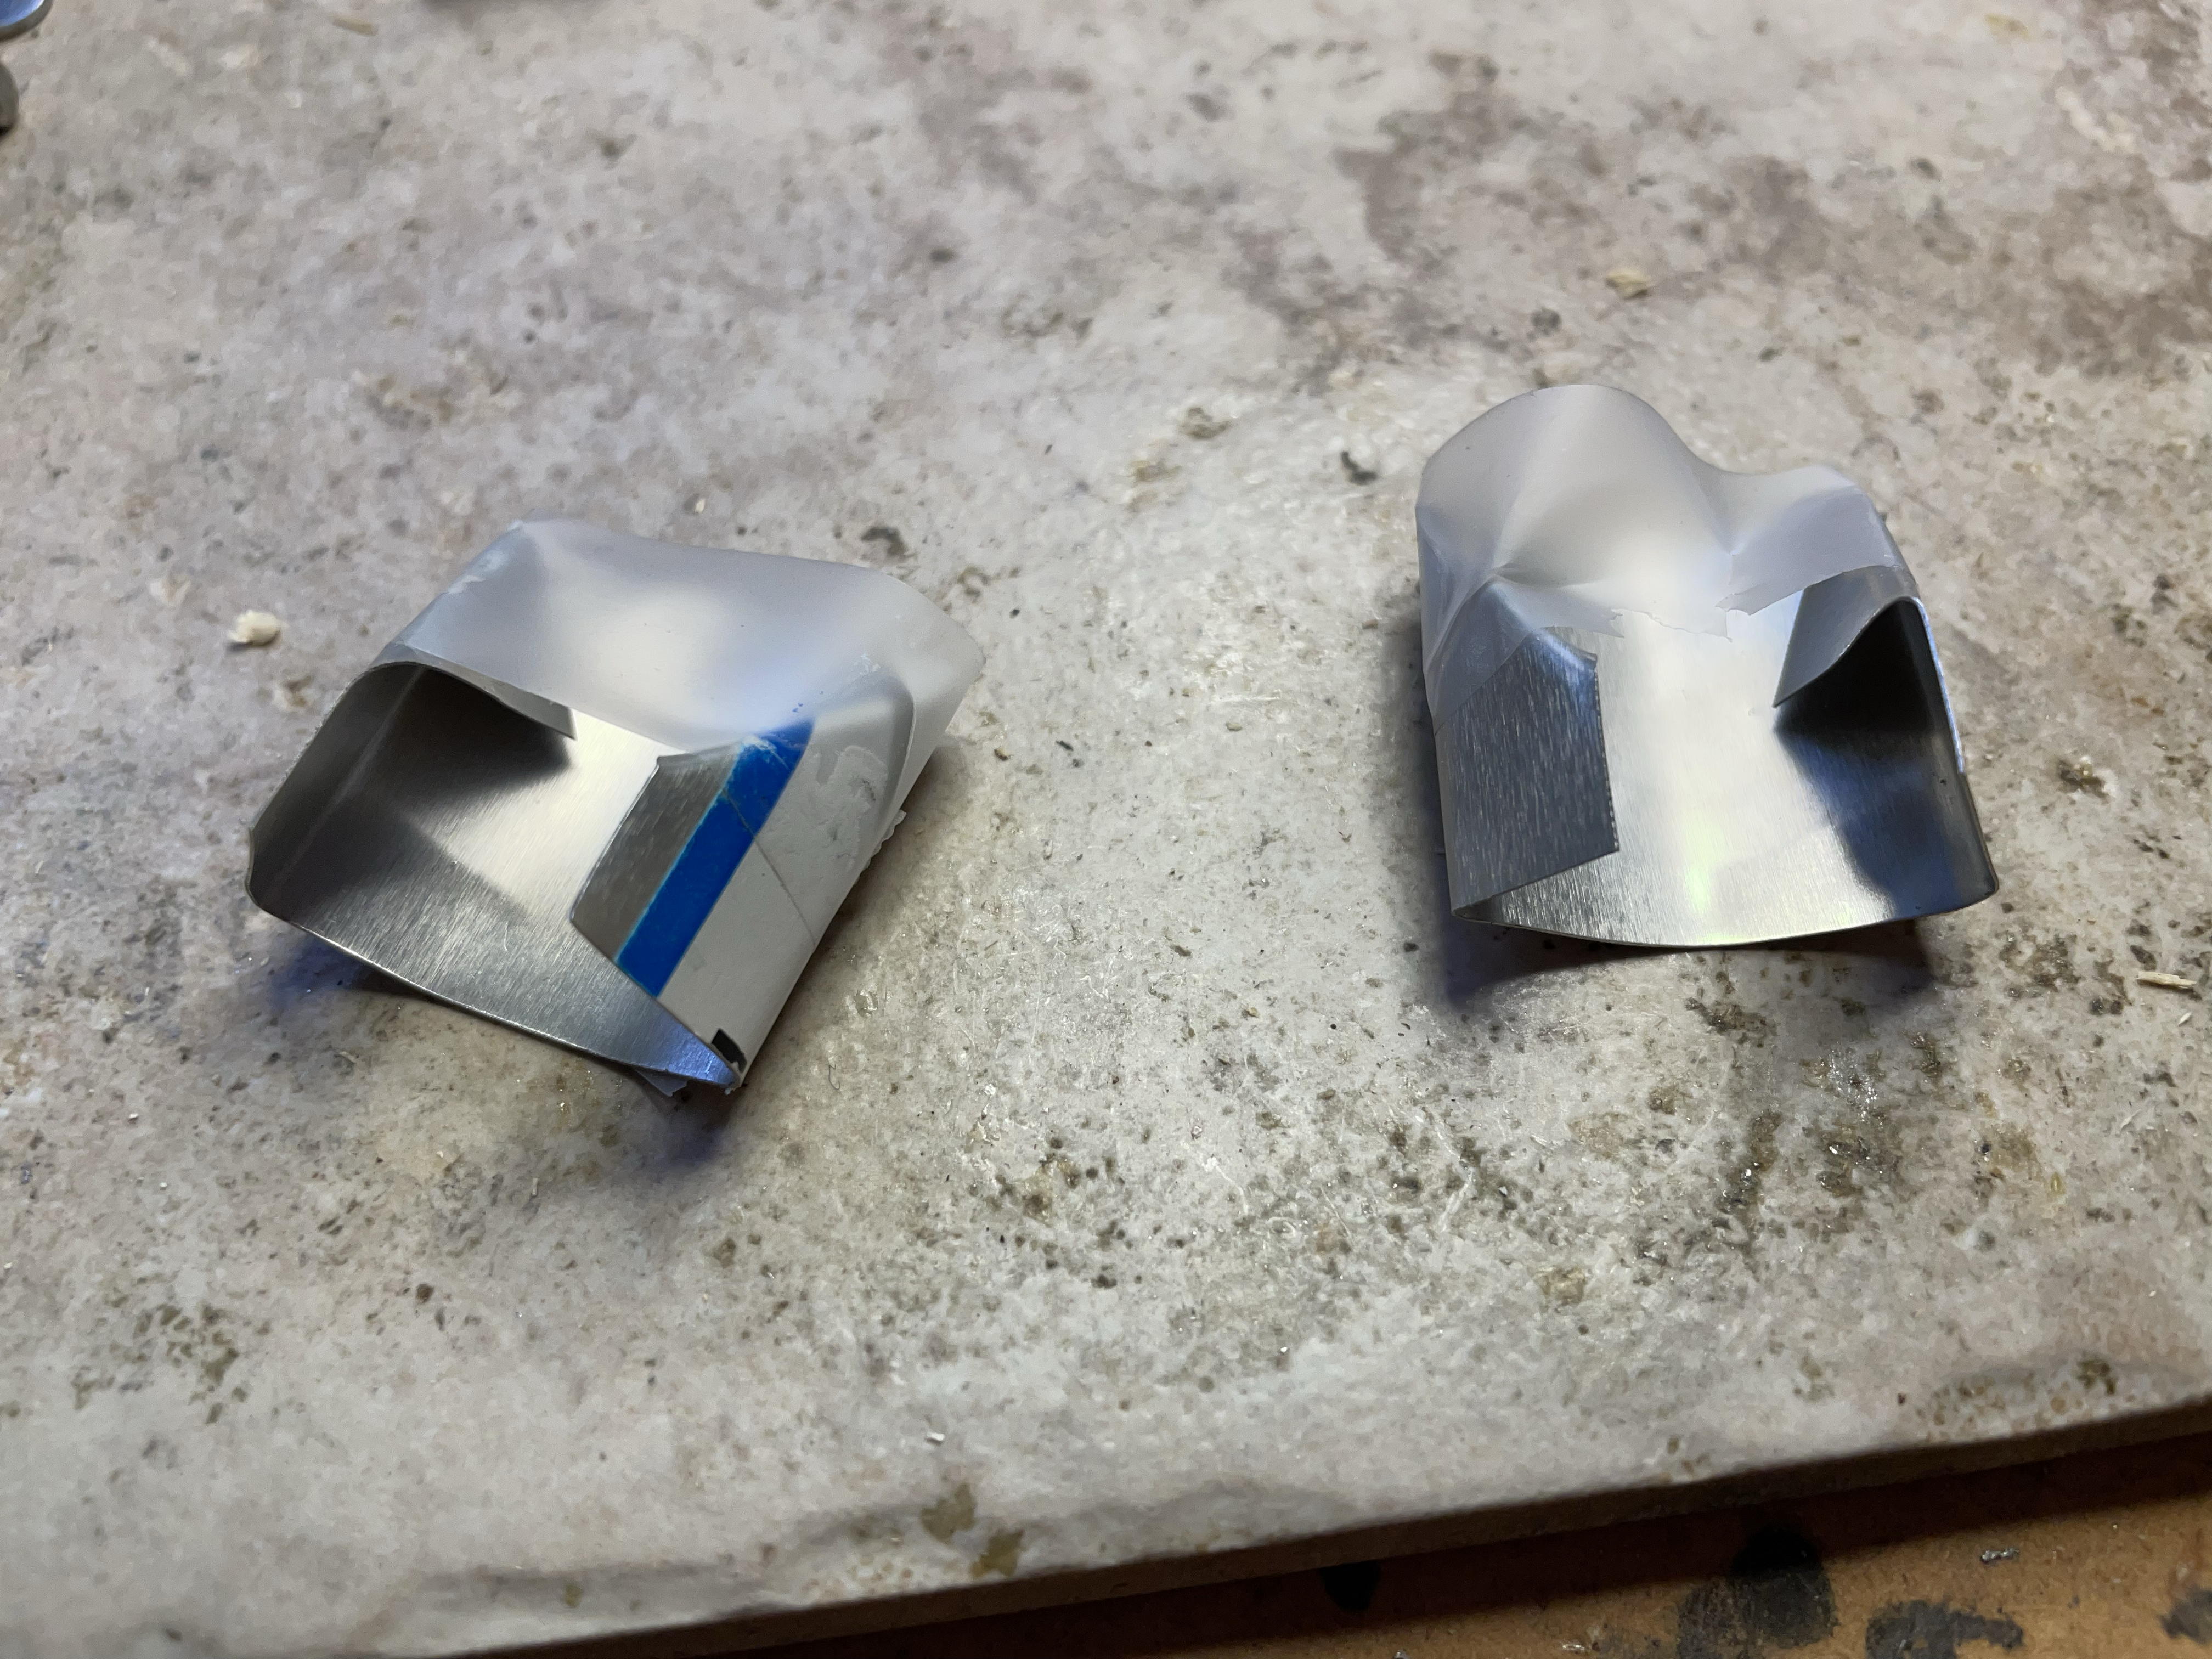
I made a holder for the contacts using aluminum flashing which you can get at any hardware/home improvement store. It's thin enough to fit between the wedge and the housing wall and can be cut using a paper cutter. I bent it so it folds back over the corners of the wedge and then taped across the free ends with scotch tape to help hold it in place. The trickiest bit is getting the flashing in place while holding in the springs and contacts (it takes a little dexterity and practice). I made two before I realized I really only needed one since you can install one set of contacts at a time.
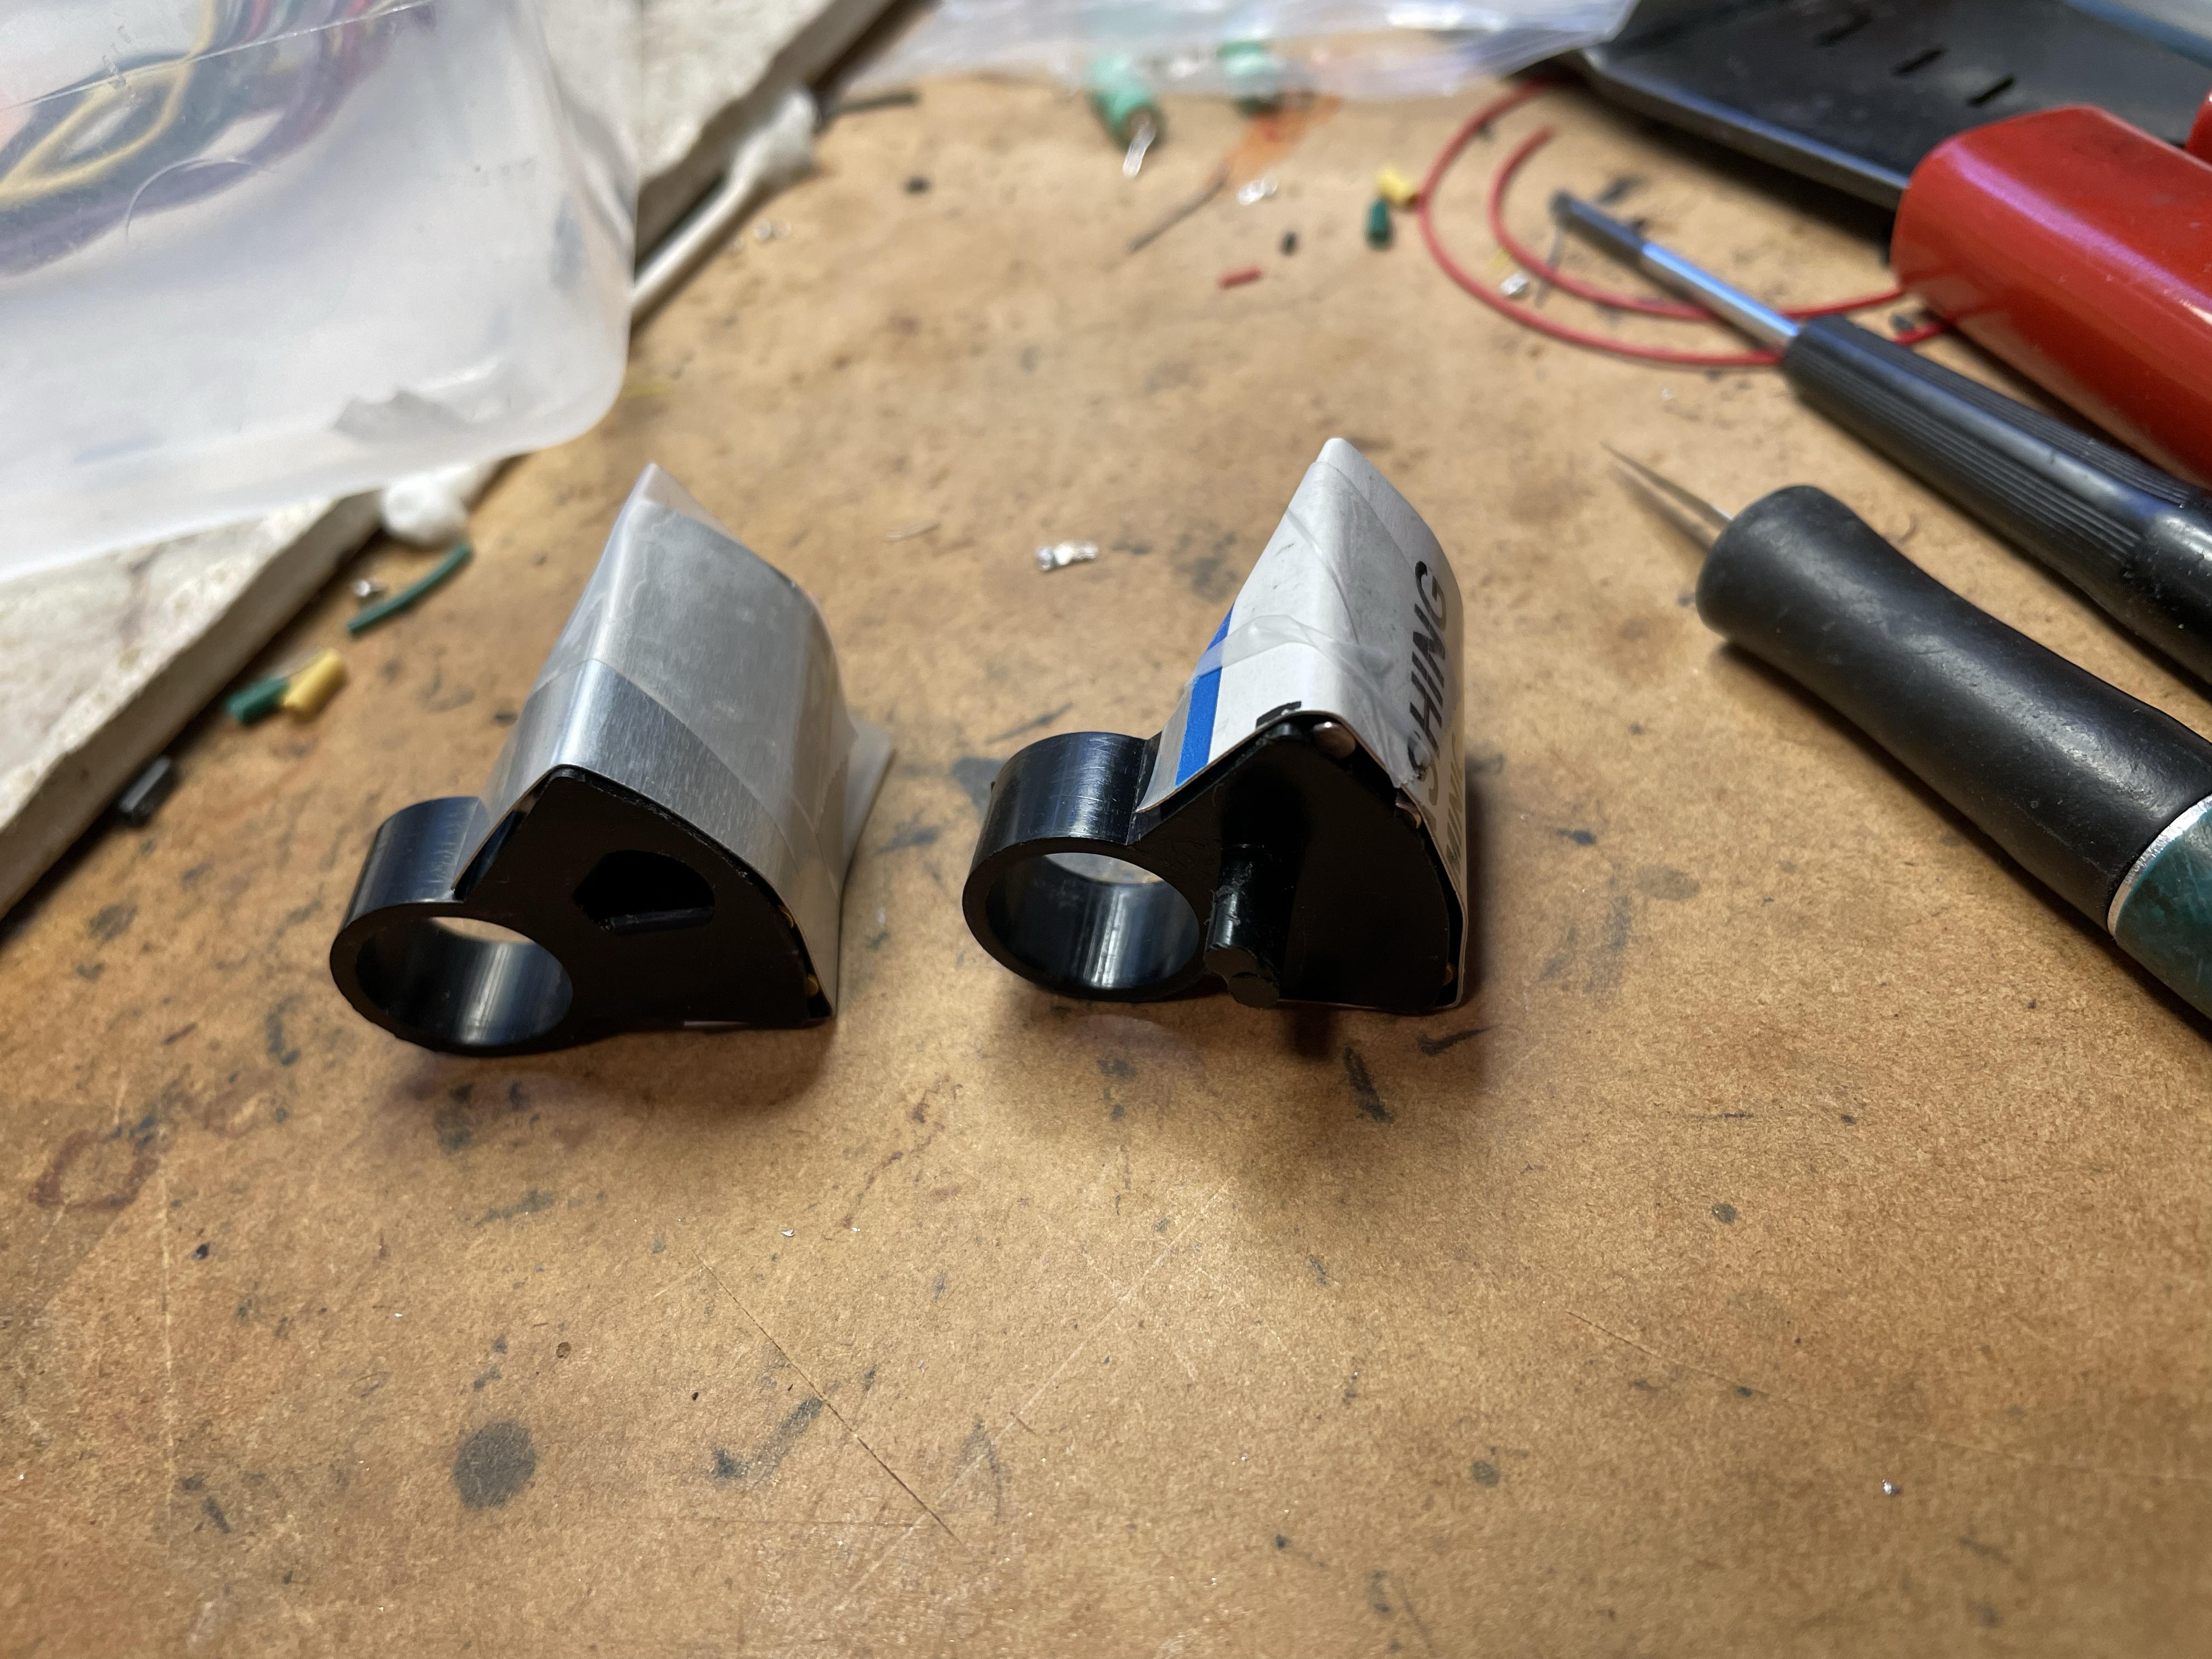
Here they are holding the contacts in place. Again, I didn't really need to get them both set up at once; I could have done them one at a time. Note that the bottom wedge has two contacts (the two close together) while the top has all three. Also, the bottom wedge is oriented with the post pointing up while the top wedge has it pointing down.
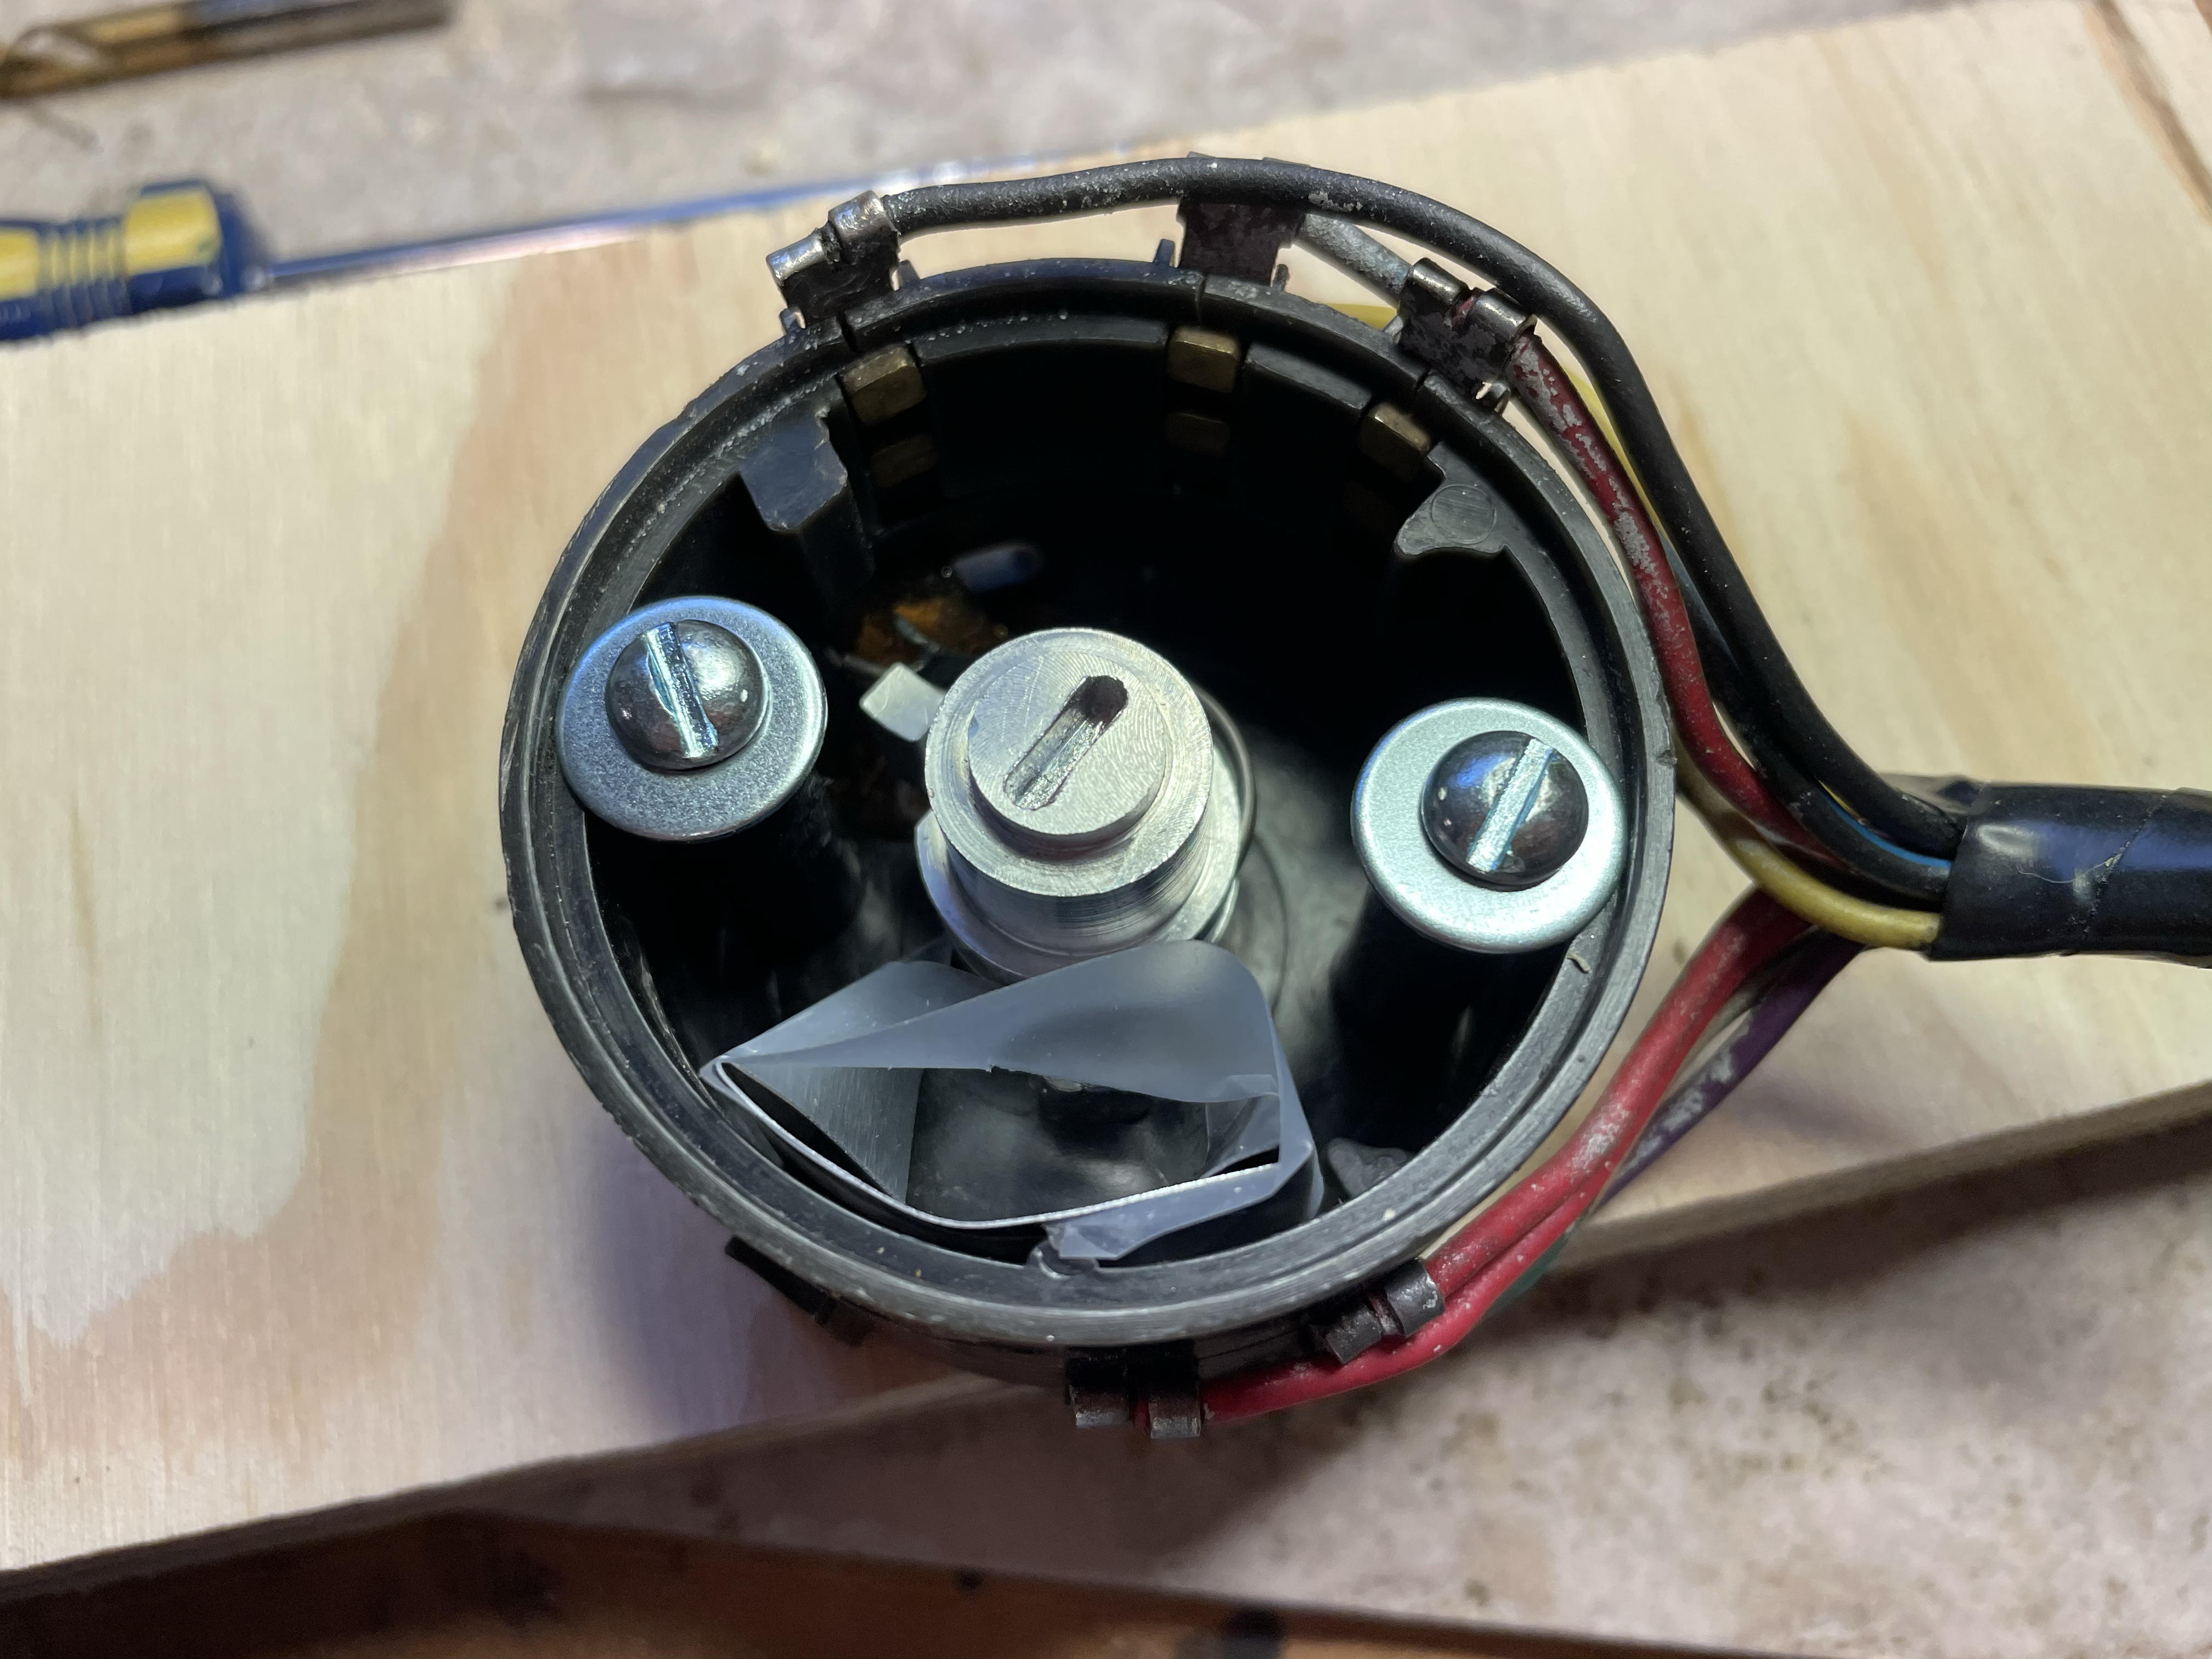
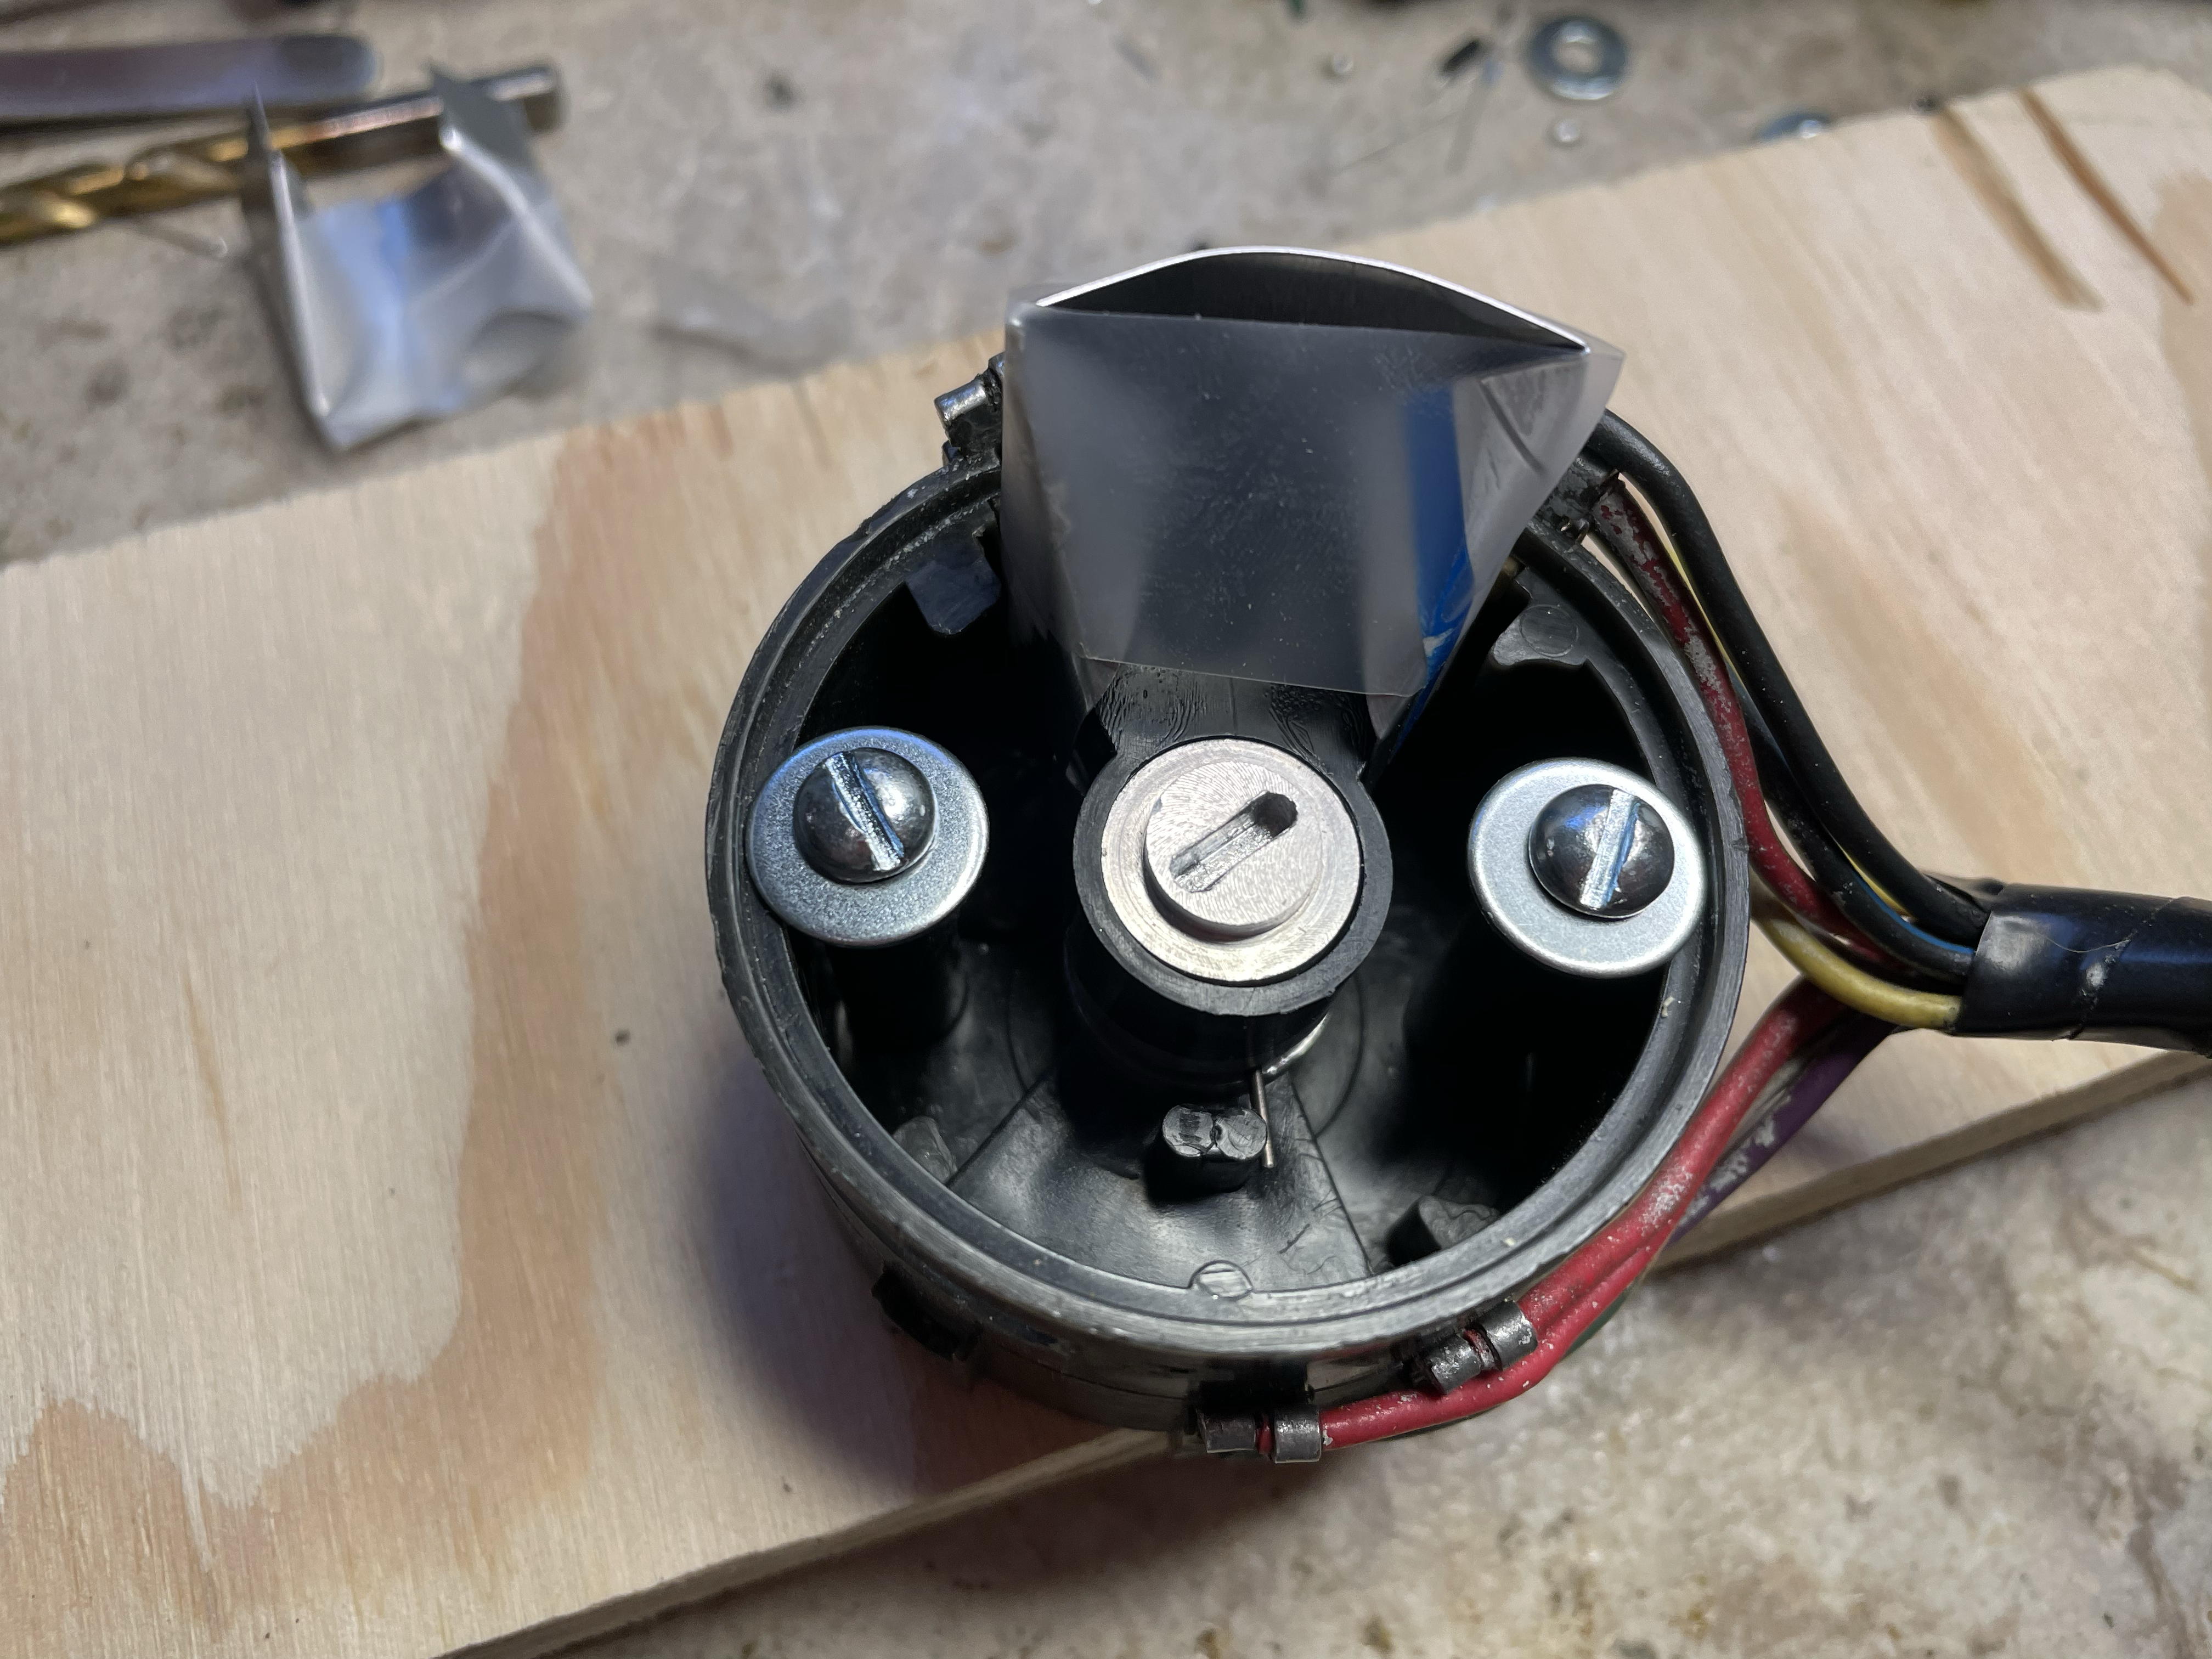
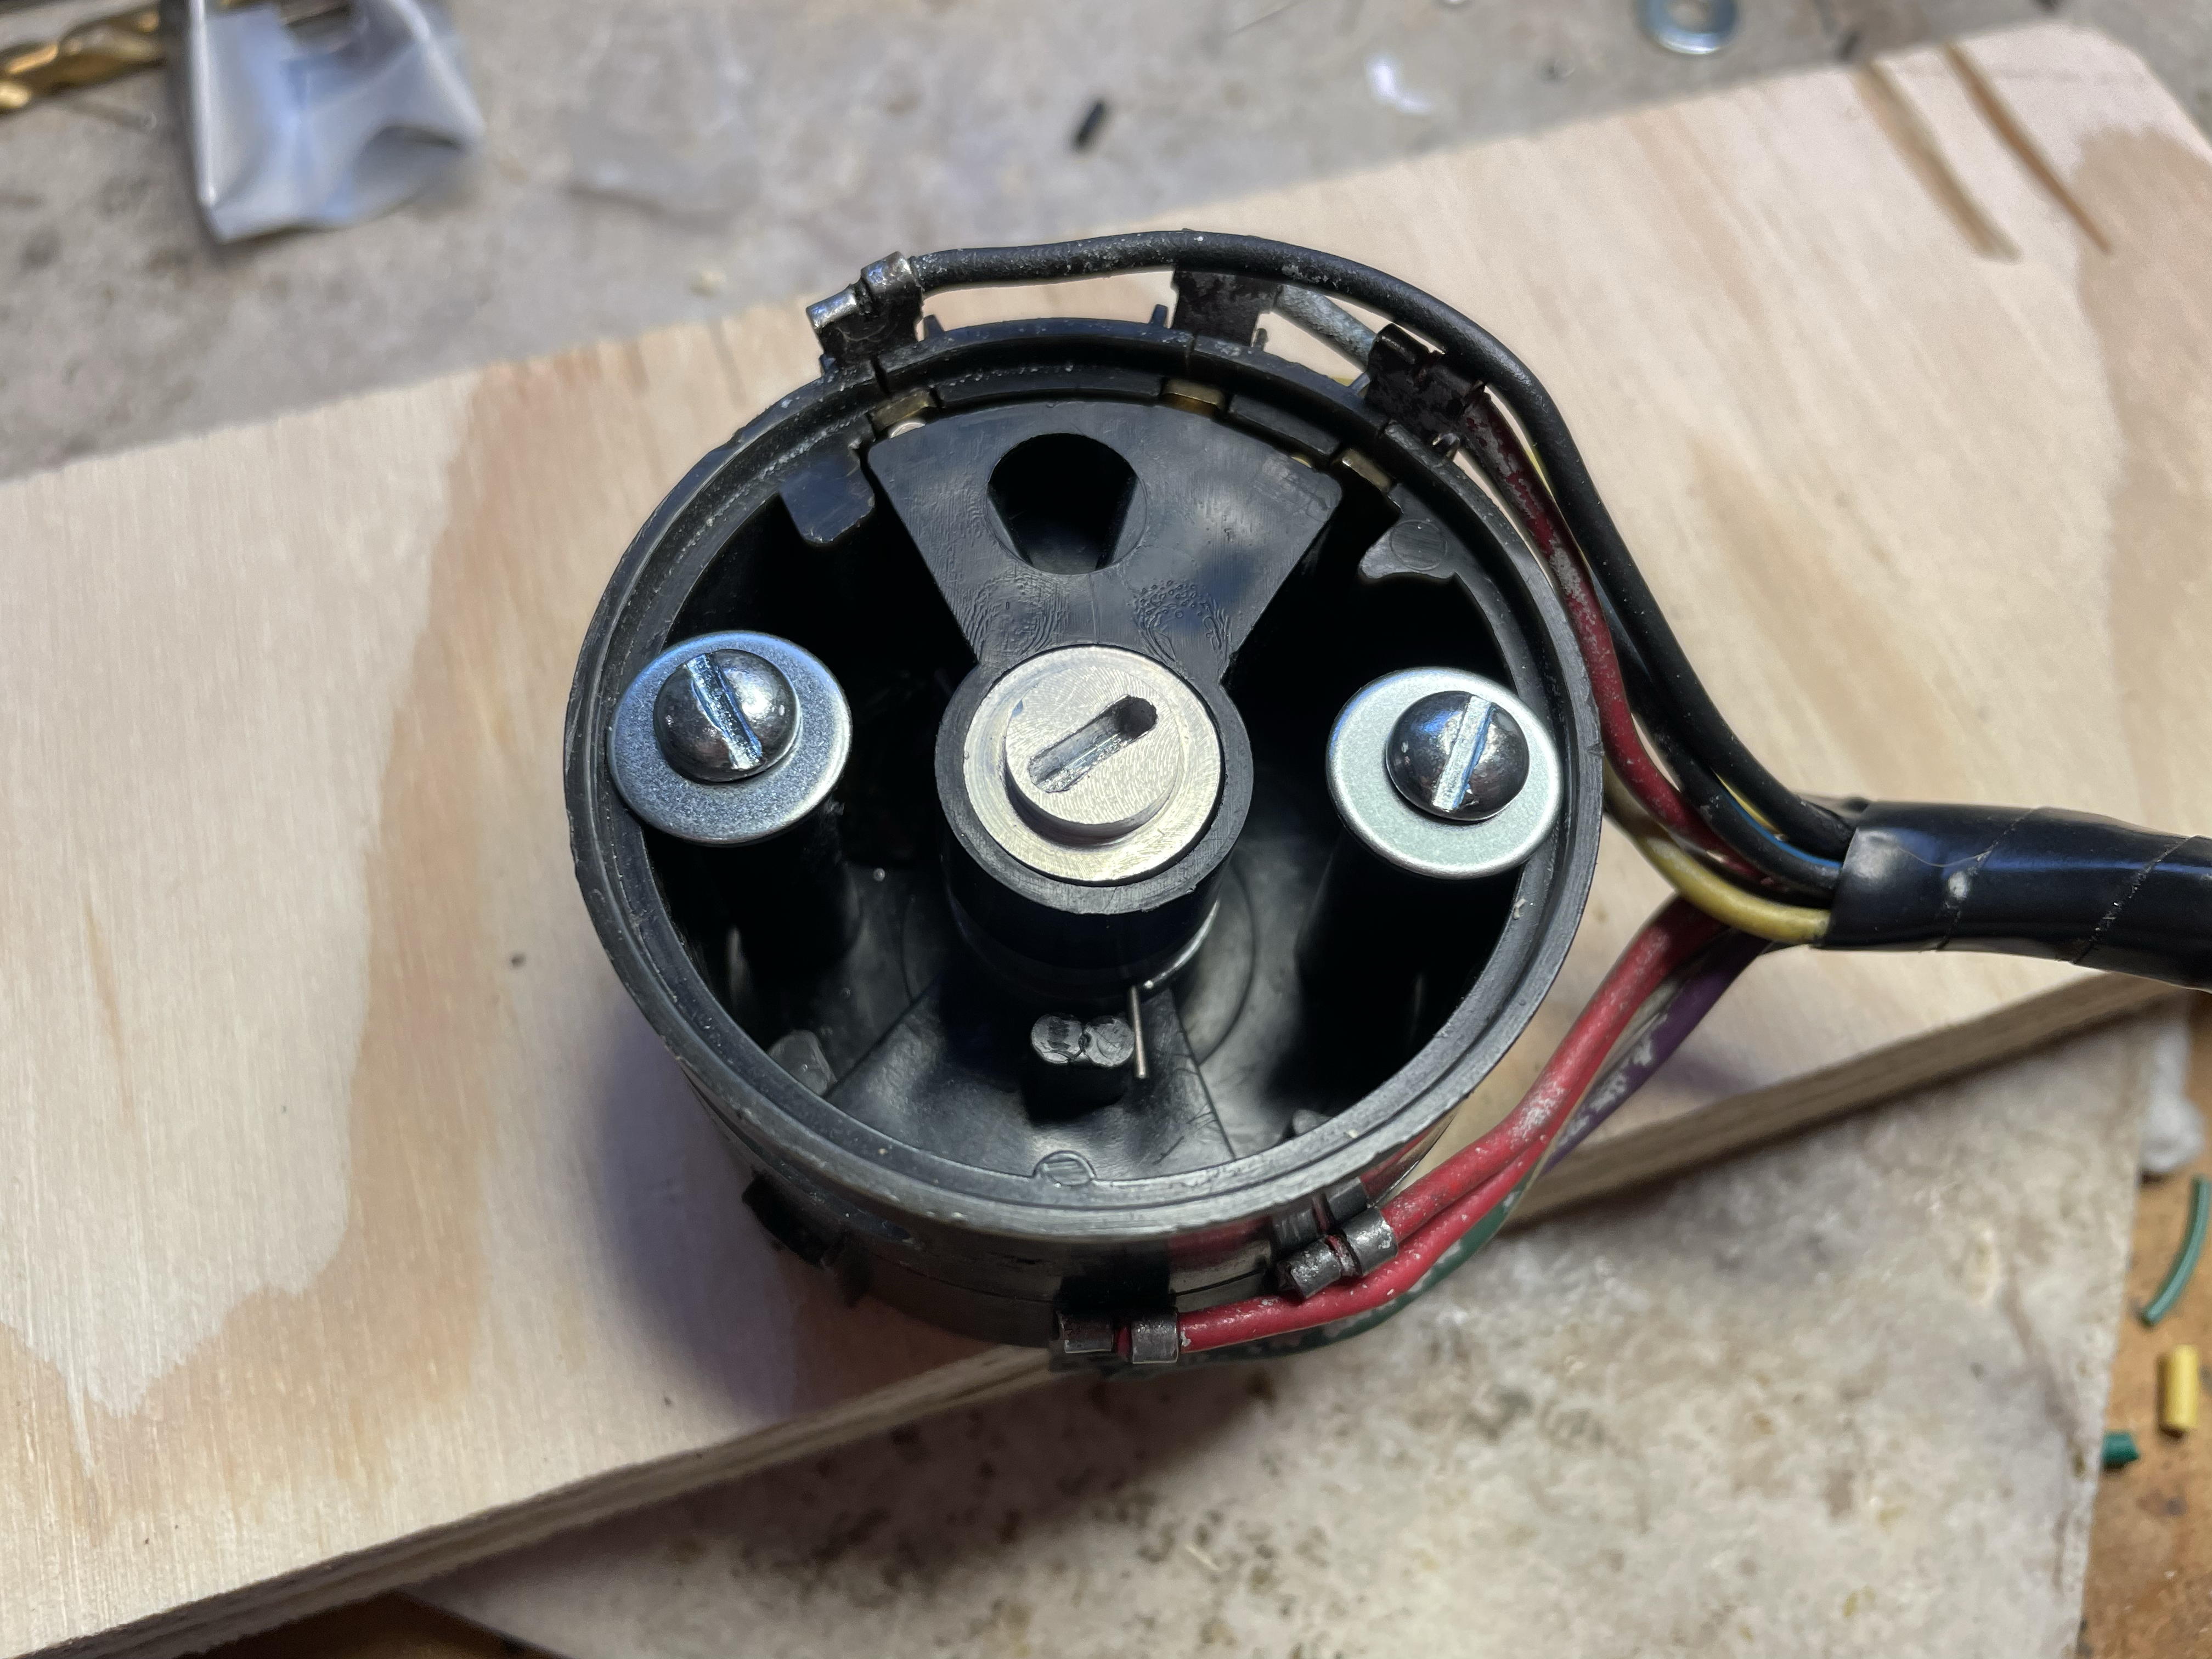
Here are the bottom contacts in place with the central hub installed. At this point a screw is run up from the bottom into the central hub to hold it in place. Once it's secure you can pull out the flashing holding the contacts in since the lower wedge will now be secure. In the second picture with the flashing removed, note the position of the tang of the helical torsion spring to the right of the wedge's post.
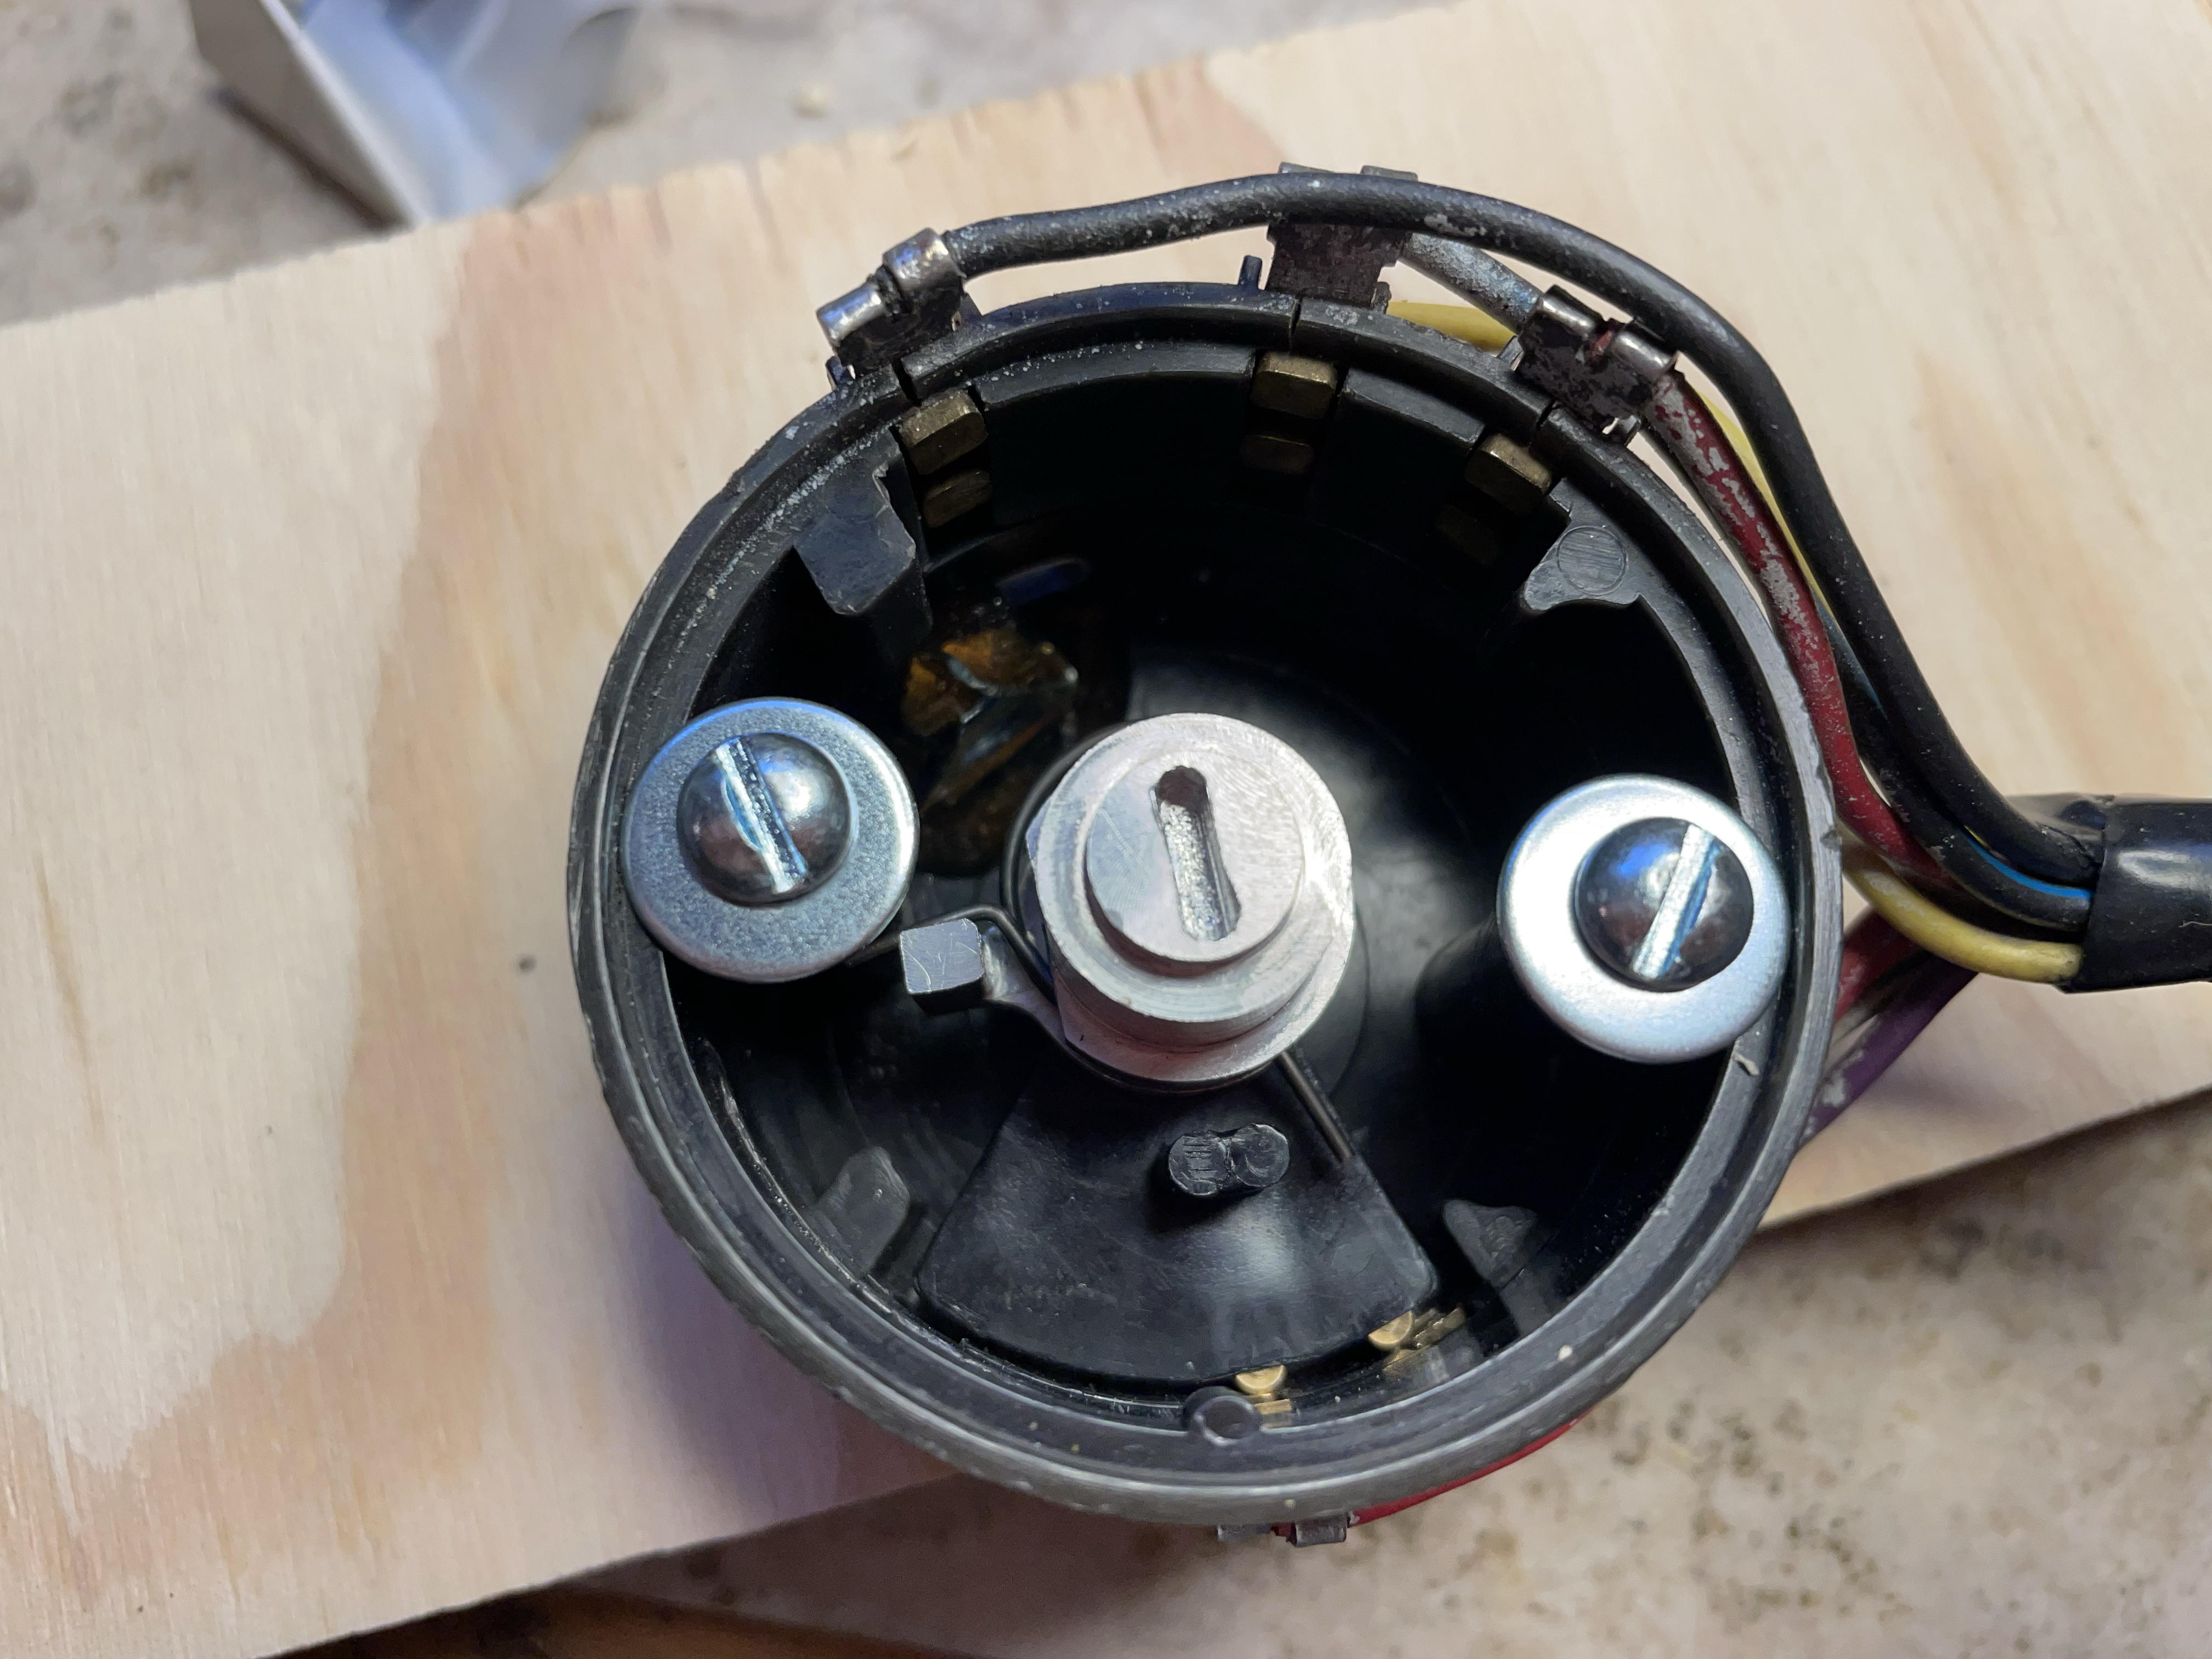
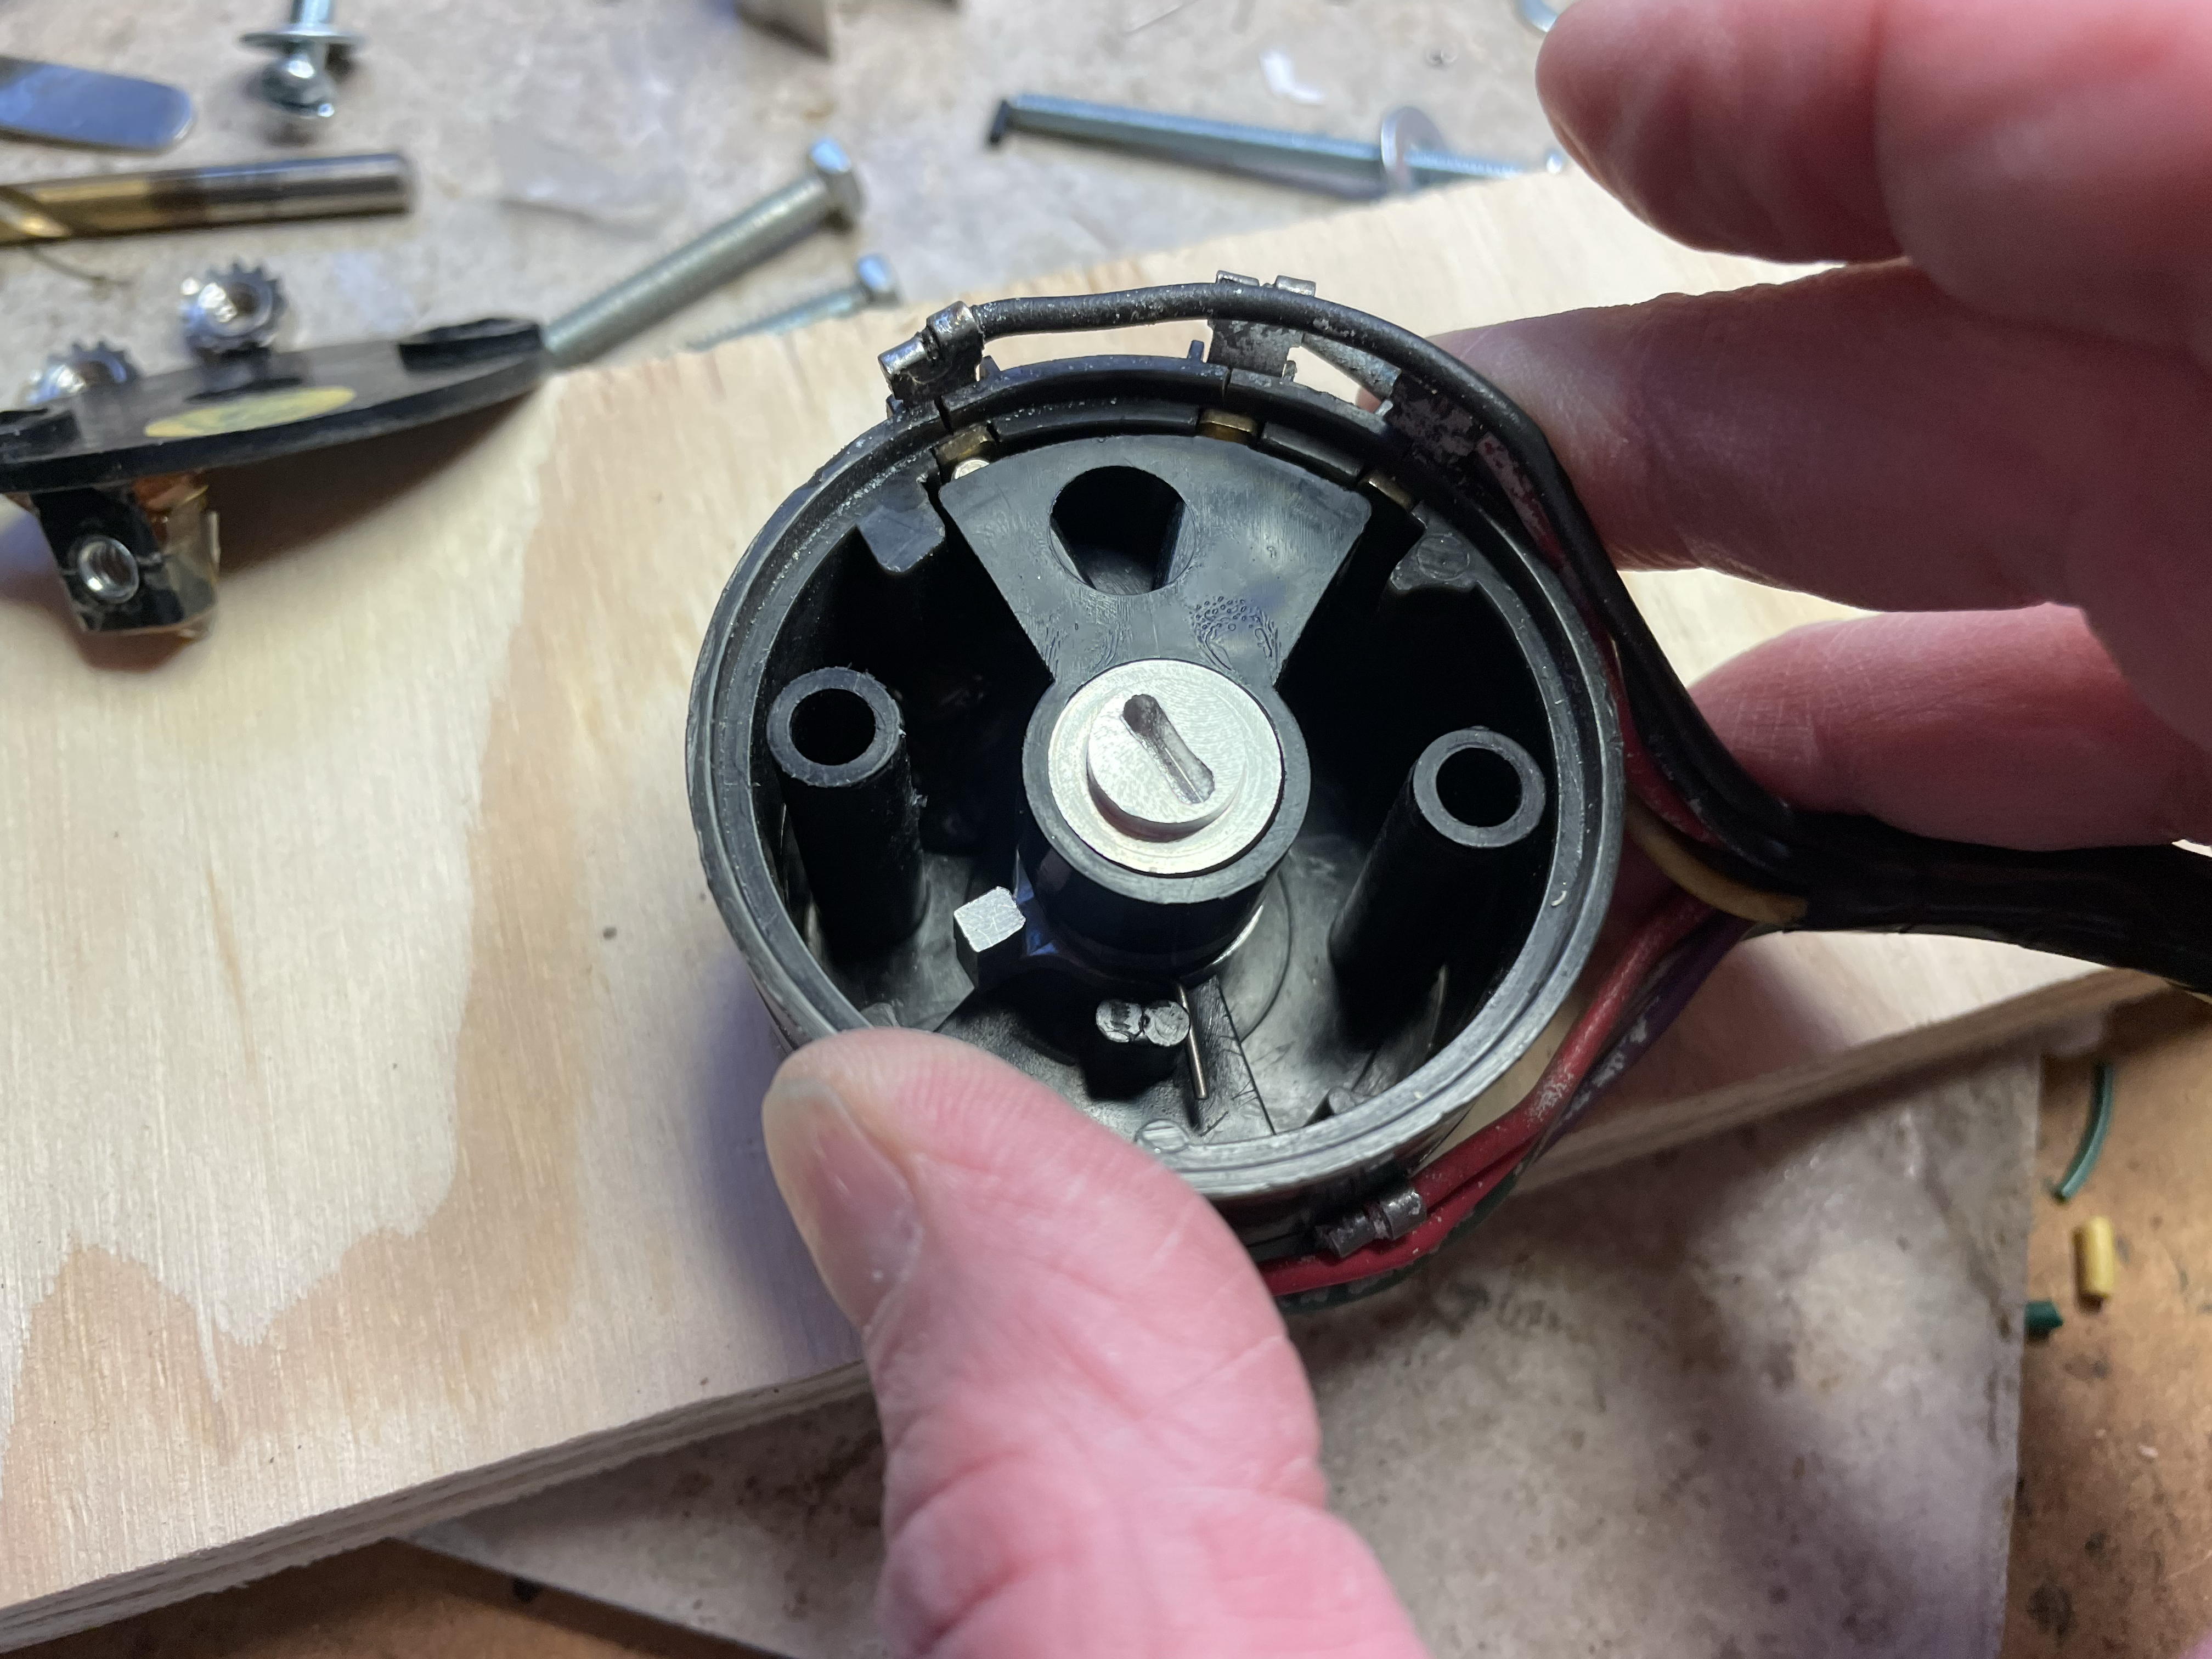
Next the top wedge is installed. The other tang of the torsion spring has to be pulled way back clockwise so it winds up to the right (clockwise) of the wedge's post.
At this point you can rotate the central hub with a screw driver. All the way clockwise should move the top contacts clockwise; all the way counter clockwise should move the bottom contacts counter-clockwise.
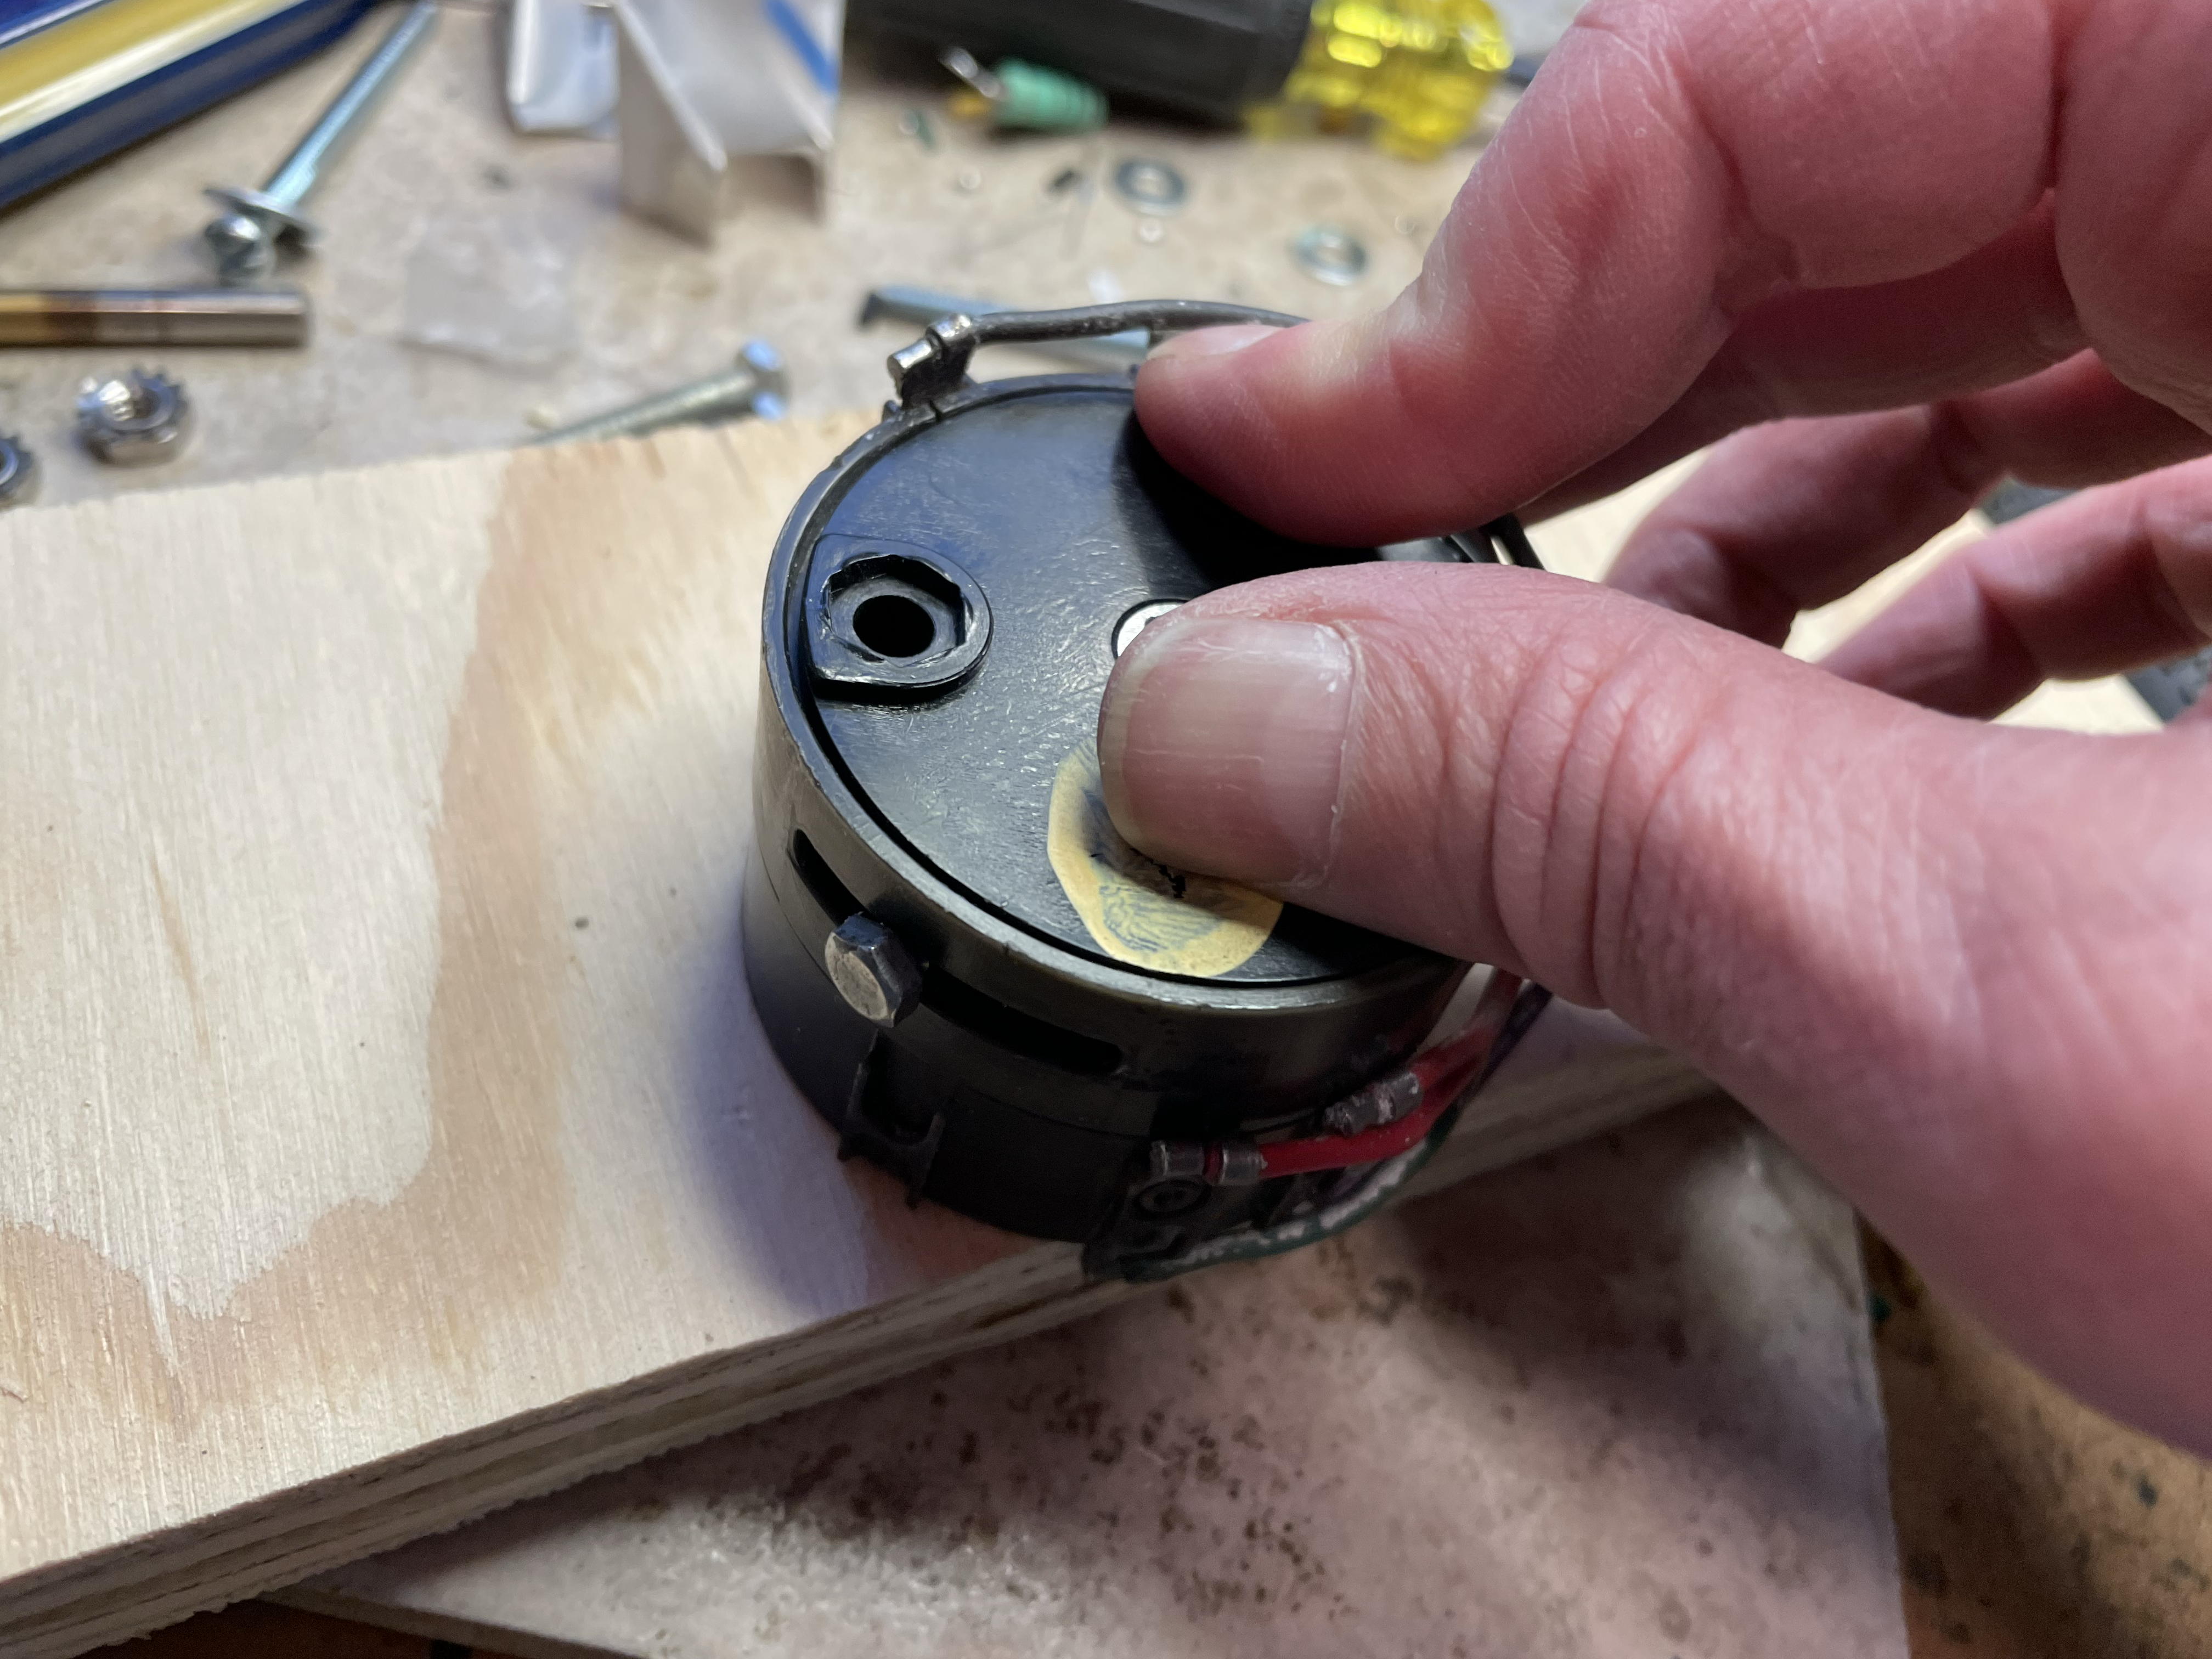
The rest is just removing it from the fixture and screwing the housing back together. You have to be careful to keep some pressure on it to keep it from coming apart. The way I did it was to pull the two screws holding the housing to the fixture (leaving the center screw), place the top, install the top adjusting screw into the side (to help hold the top in place), drop the proper screws down from the top, remove the center screw while carefully applying pressure to hold everything together, then screwing nuts and washers onto the two housing screws.
Once it's all re-assembled you can test it by clipping an ohmmeter across each set of contacts and rotating the switch with a screwdriver. Bear in mind that some of the contacts are normally closed and some are normally open.
That's it. Again, I don't know right now if this will work with the original central hub. If anything seems wrong or is short of necessary details let me know and I'll try to clear it up.
-Andrew